
 In this SAP SD tutorial, we will talk about sales orders in SAP Sales and Distribution. You will learn what SAP SD sales orders are used for and how to create them. We will provide screenshots and guidance that are relevant for this process.
Sales Orders in SAP SD
Previously, a customer might have inquired for the product which you have maintained in the inquiry or might have asked for a quotation (which is valid for a particular time period) or have opted for a long term contract either quantity or value.
Creation of a sales order is the first step in SAP SD for capturing of the actual sales. This means that customer has agreed to the price which you have offered during the inquiry and quotation phase(s).
In SAP SD, a sales order can be created either with or without reference to:
- Quotation, provided it is within the validity period
- Contracts, value & quantity, provided the same are within validity the dates or the value or quantity has not exceeded from the contract terms
How to Create SAP SD Sales Order
SAP’s main screen once you have logged on to SAP:
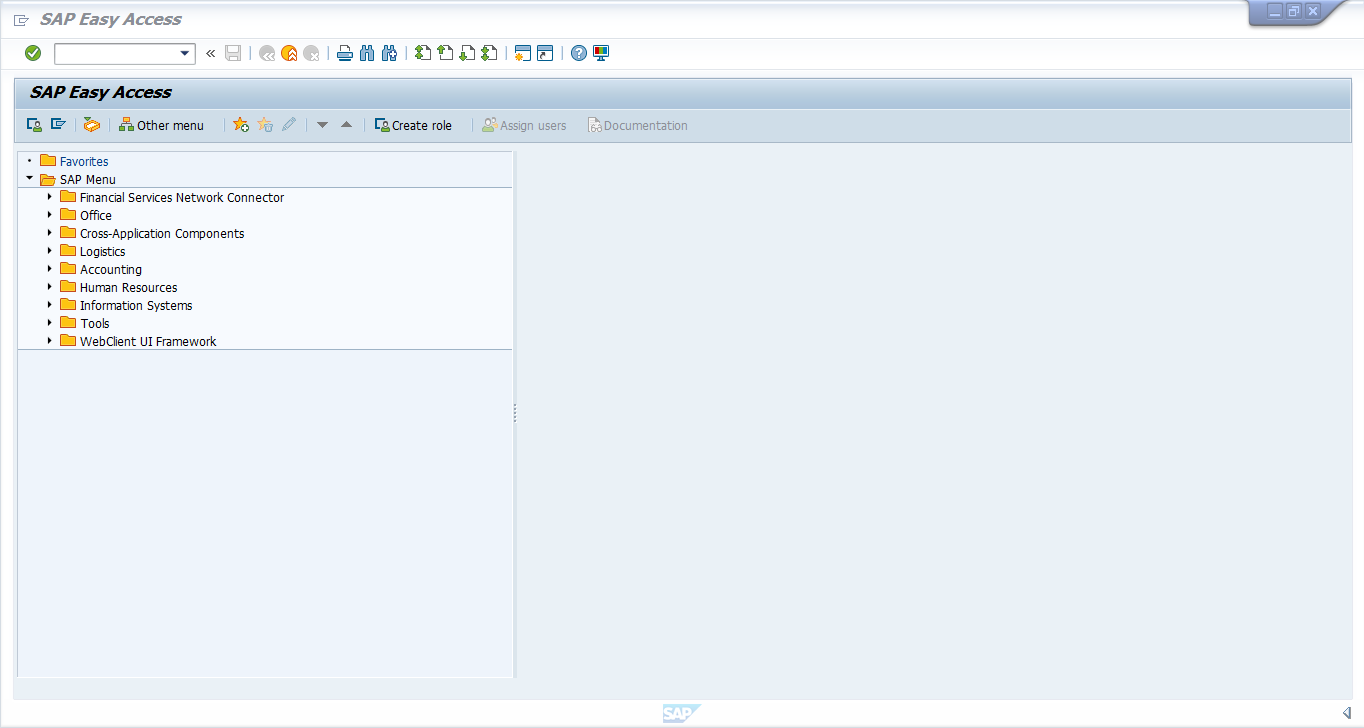
In SAP, in order to reach to a particular transaction, you have the following options:
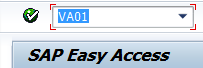
- Either enter the T-Code (transaction code) directly in the transaction bar in the SAP screen
- Or navigate through the ‘Navigation Tree’
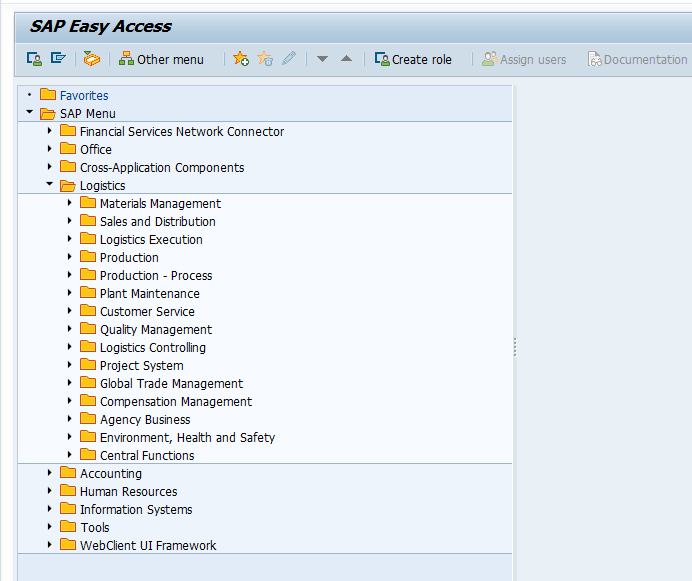
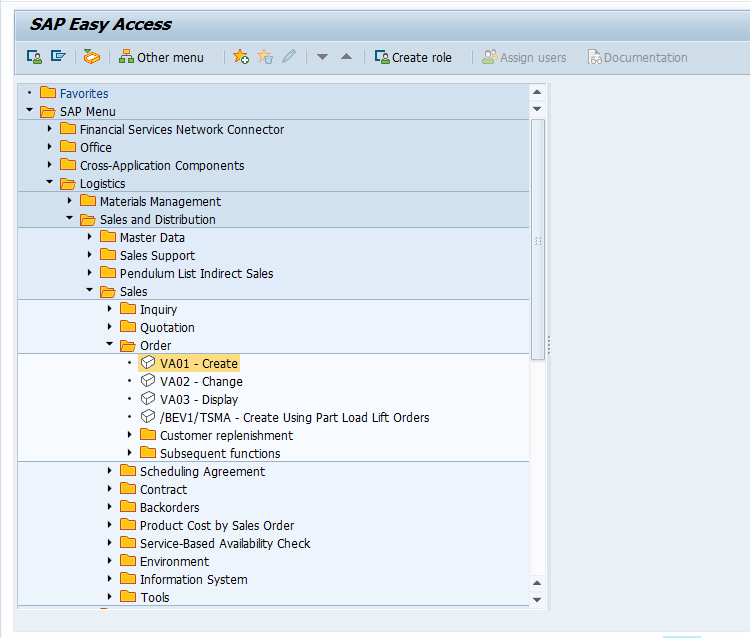
The following is the illustration on how to fetch sales order window/screen:
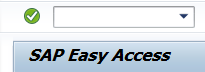
- Enter VA01 in Transaction Command Field for creating Sales Order or
- Navigate through ‘Tree’
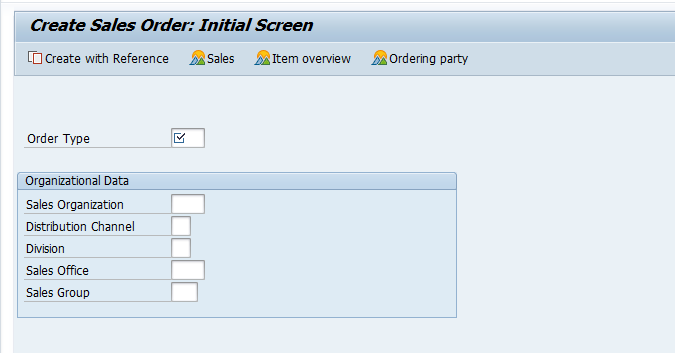
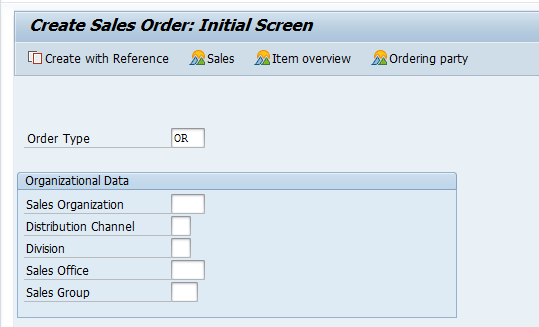
Once you have entered the Sales Order: Creation Initial screen, you have to select relevant Order Type. Each order type has its own functionality and viewing based on the configuration done at the SAP backend.
Select Relevant Order Types:
Please note, any field having a ‘tick mark’ ![]() means its mandatory and it has to be populated else system would not allow you to proceed further.
means its mandatory and it has to be populated else system would not allow you to proceed further.
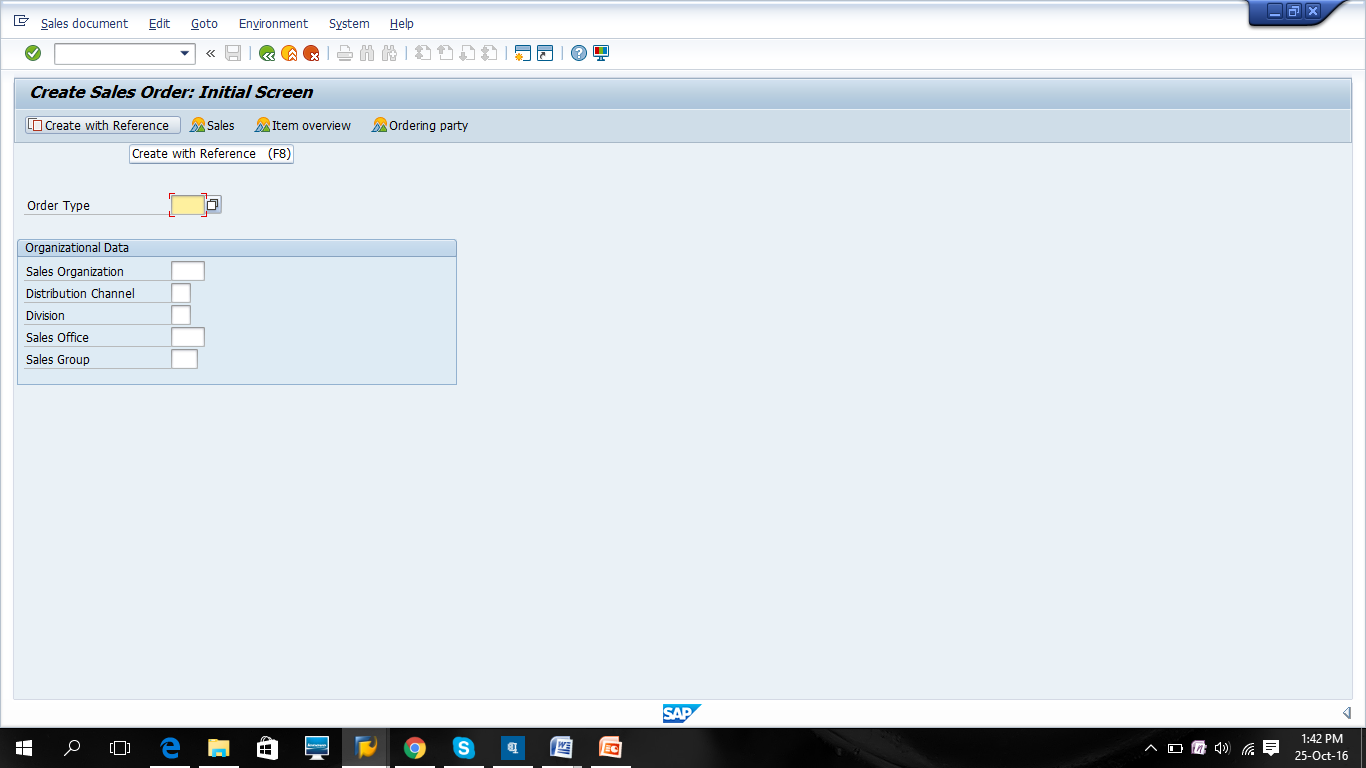
In order to opt for a required Order type, either press F4 on the respective field and it will show all LoVs (List of Values).
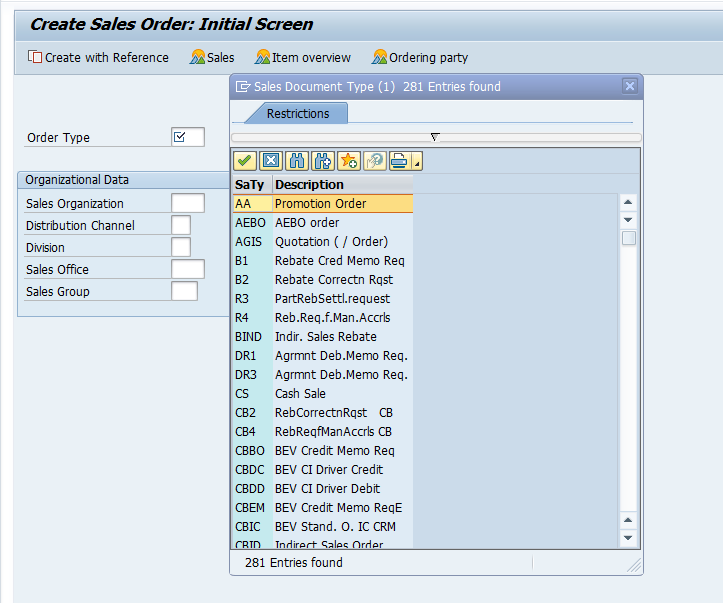
Select the relevant Order type to proceed to the next step.
Populate Sales Area with your relevant Sales Organization, Distribution Channel, and Division.
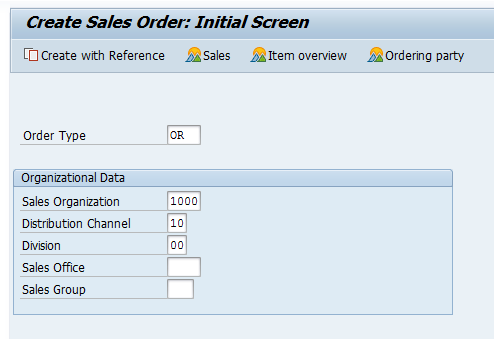
Hint: if you populate your relevant Sales Organization, Distribution Channel and Division first and then opt for the relevant Order type, only Sales Document types relevant for the selected Sales Organization, Distribution Channel and Division will be displayed in LoV.
If you want to create Sales Order with reference to a Quotation or a Contract, press: ![]() button.
button.
Once it is pressed, select the relevant tab.
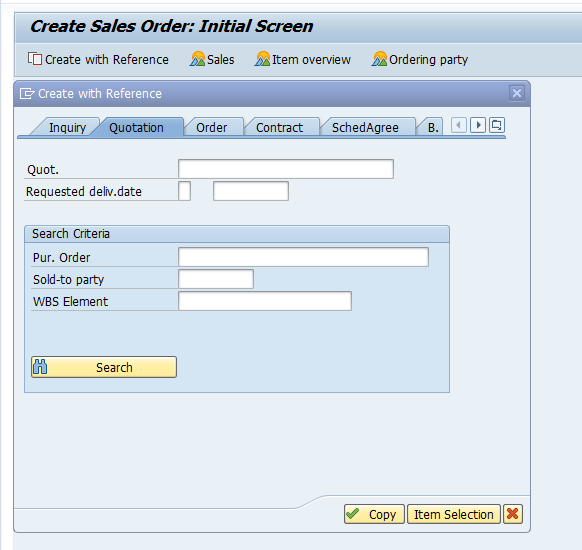
Enter the document number and either ![]() , if there are multiple items in the referencing document and you want to select a particular item which should be copied in the sales order or select
, if there are multiple items in the referencing document and you want to select a particular item which should be copied in the sales order or select ![]() directly. In our case, we are going to Create Sales Order directly. Press Enter to continue and enter in the Sales Order screen. Once you press Enter, you will enter into the sales order screen.
directly. In our case, we are going to Create Sales Order directly. Press Enter to continue and enter in the Sales Order screen. Once you press Enter, you will enter into the sales order screen.
Master Data Involved when Creating Sales Order
The following master data is involved when creating a sales order. This master data fetches relevant information and populates the relevant fields accordingly:
Customer Master Data
- Name of the customer
- Address
- Location
- Taxation details
- Geographical location according to company’s sales geographical structure
- Shipping details
- Billing details as in terms of payment
- Partners associated with the customer, i.e. ship-to party, bill-to party, payer, etc.
Material Master Data
- Material description
- Unit of measure (Stock Keeping Unit – SKU)
- Transportation group
- Loading group (fork lifter, manual handling etc)
- Taxation information
Customer Material Info Records
- Used to maintain customer relevant SKU codes which are mapped with the Company’s code
Condition Master (Pricing)
- Base price of the product or special price for a particular customer
- Discount(s) on the product or special discount offered to one customer
- Freight
- Taxes
Output Master
- The process of communication with customer once the sales order is created via printout of the sales order which is sent to customer by post, fax or email.
Partners Involved in Creation of Sales Order
- Sold-To Party: the entity that inquired the goods
- Ship-To Party: to whom goods are be delivered to
- Bill-To Party: the entity that is responsible to receive the bill
- Payer: the entity responsible for the payment
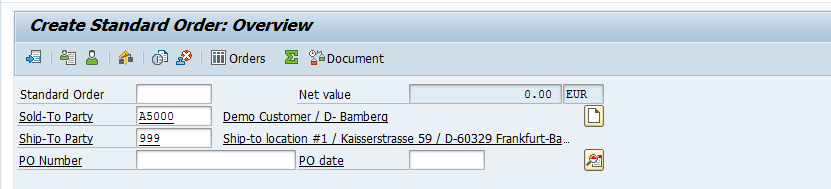
Entering the Customer – Sold-To and Ship-To
You can see Sold-to Party and Ship-to Party fields at the top left of the screen just below Standard Order field. One Sold-to Party can have multiple Ship-To Parties. If there are many Ship-To parties associated with one Sold-to Party, a dialog box will pop up in the order screen. You need to select the relevant Ship-to Party which the Sold-to Party has instructed you to ship the products at.
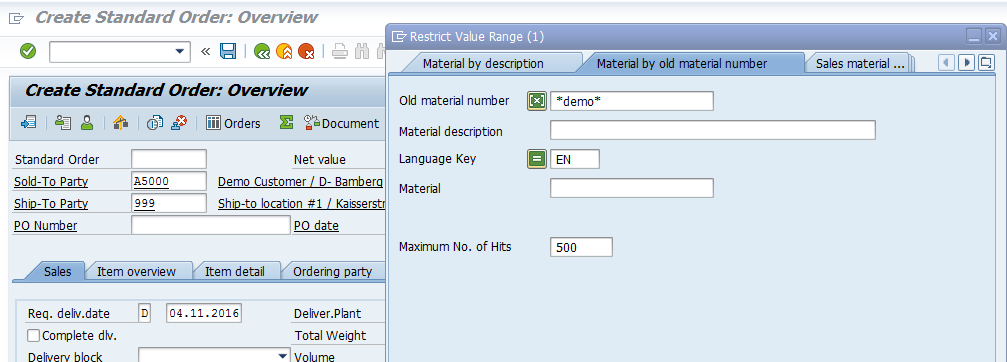
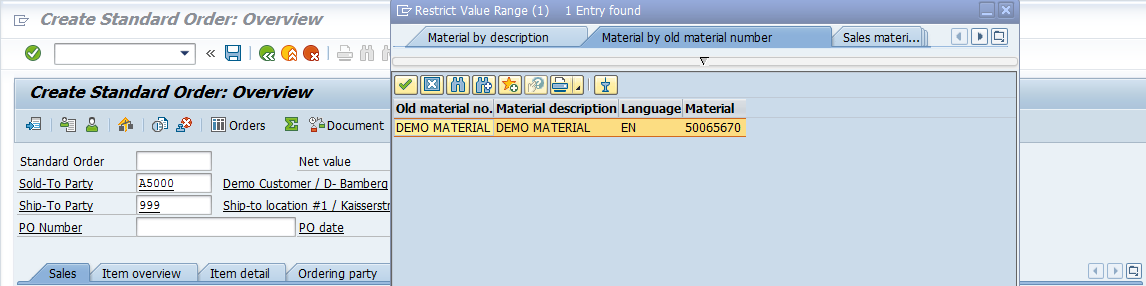
Press F4 or ![]() button on the Sold-to Party field to search for your relevant Sold-to Party. You can search by Search Term maintained in the customer master data or also by Name. To remain specific with your search, enter relevant Sales Organization, so that only customers maintained in your sales organization will be displayed.
button on the Sold-to Party field to search for your relevant Sold-to Party. You can search by Search Term maintained in the customer master data or also by Name. To remain specific with your search, enter relevant Sales Organization, so that only customers maintained in your sales organization will be displayed.
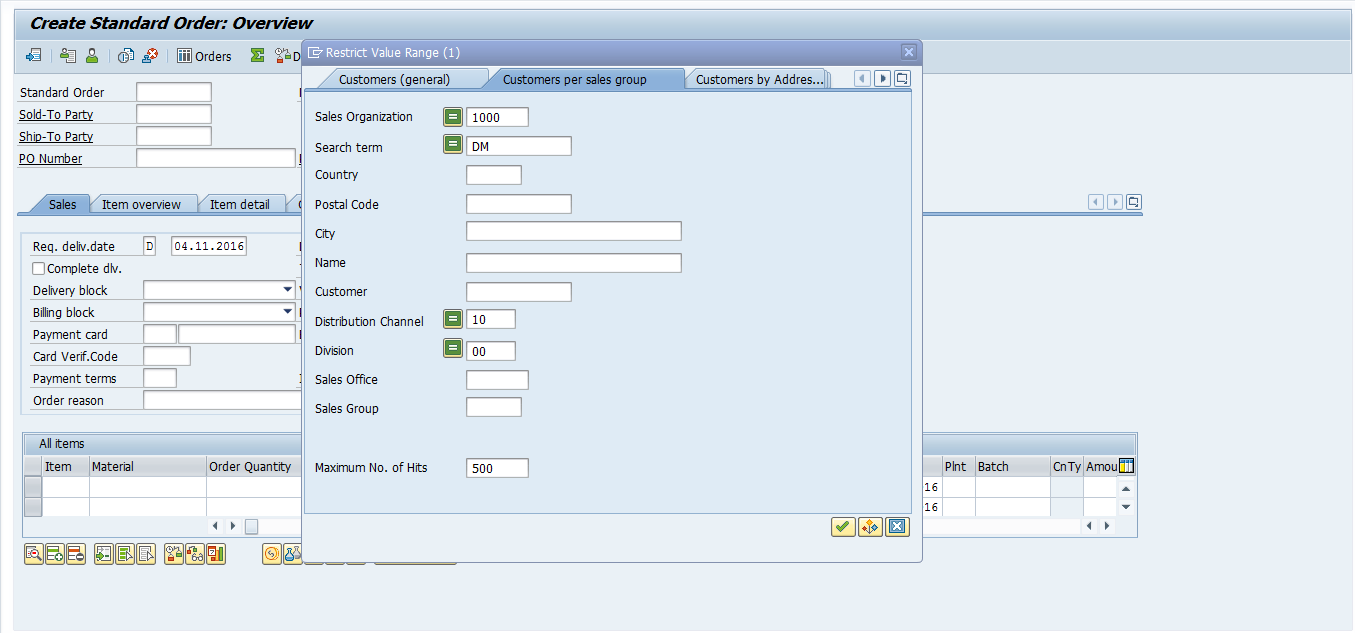
Hint: You can use asterisk to be more specific in your search and press Enter to get output of your search.
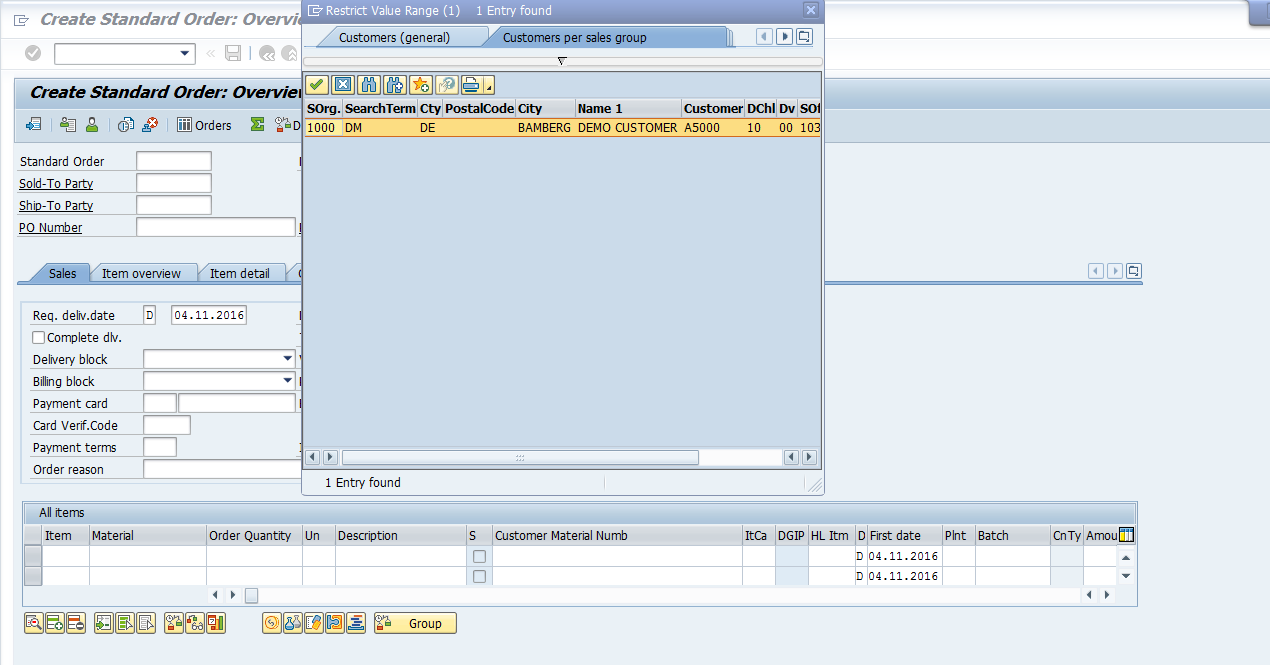
Double click on the required customer line in order to select that customer.
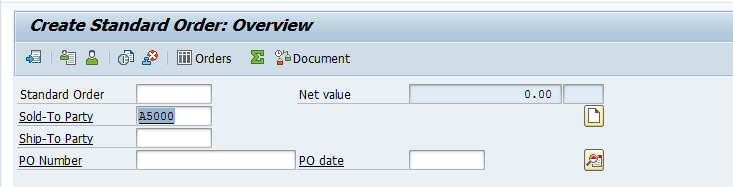
Press Enter once you have selected the Sold-to Party, so that the SAP system can accept the customer and proceed with the sales order creation.

Since this customer has two Ship-to Parties, a dialog box is popped up to select the relevant one which your customer, Sold-to, has instructed. Double click on the required one and the same will be selected.
If there’s only one Ship-to Party, once you press Enter, Ship-to Party will be automatically populated.
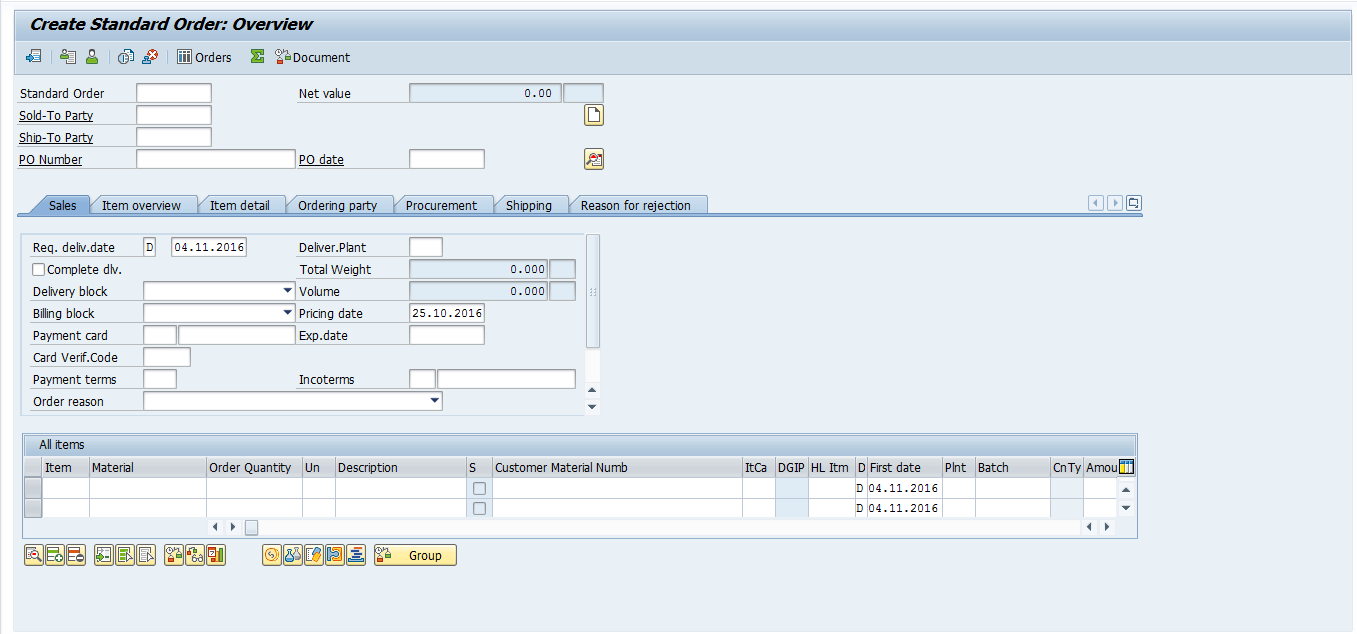
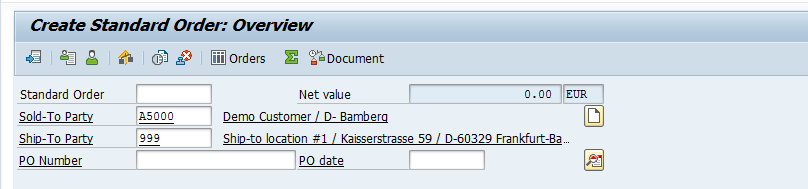
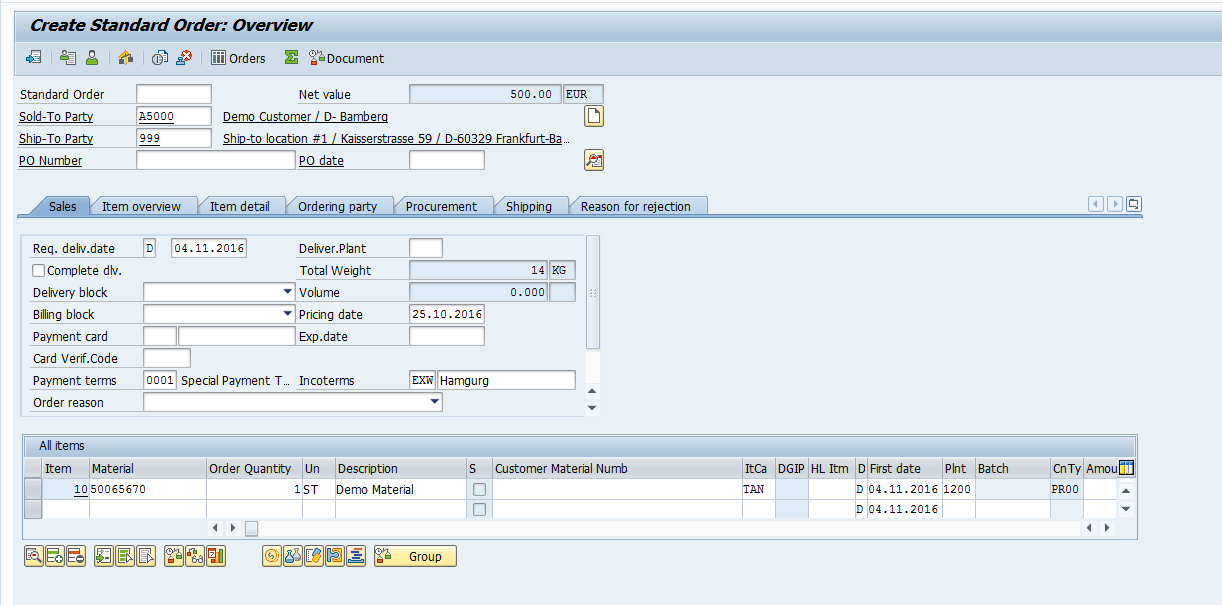
SAP SD Sales Order Screen Interface
This part is called header of the sales order:
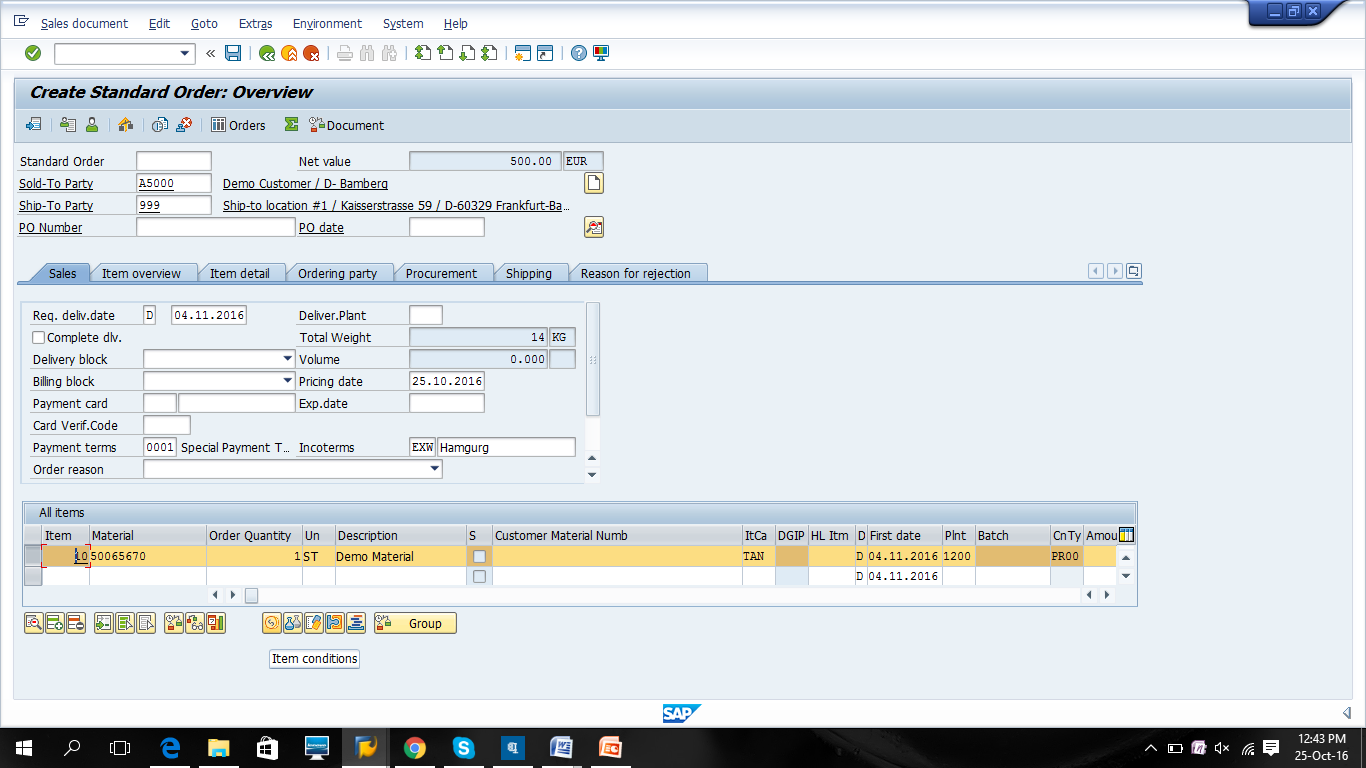
This part is called overview of the sales order:
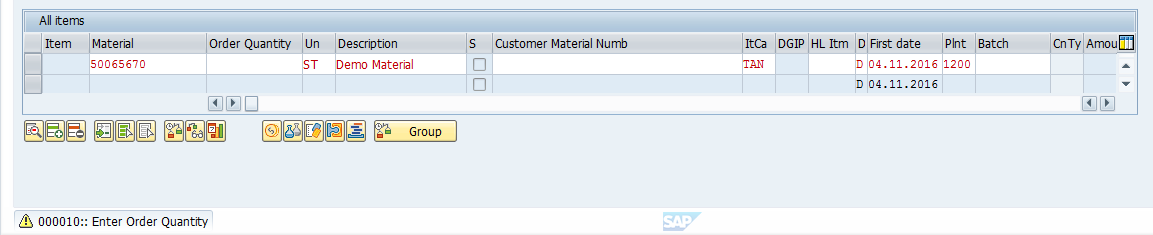
This is called the line item part of the Sales Order where Materials to be sold are maintained.

Add Materials to SAP Sales Order
Use F4 to search for the material the same way we did for the customer and repeat the same process for entering multiple line items (if required).
Double click on the desired material to select.

Enter quantity, if you press Enter after selecting the material, without entering the Quantity, the system will prompt.
Incompletion Log for SAP Sales Orders
Go to Edit > Incompletion Log to see if the sales order created is complete.
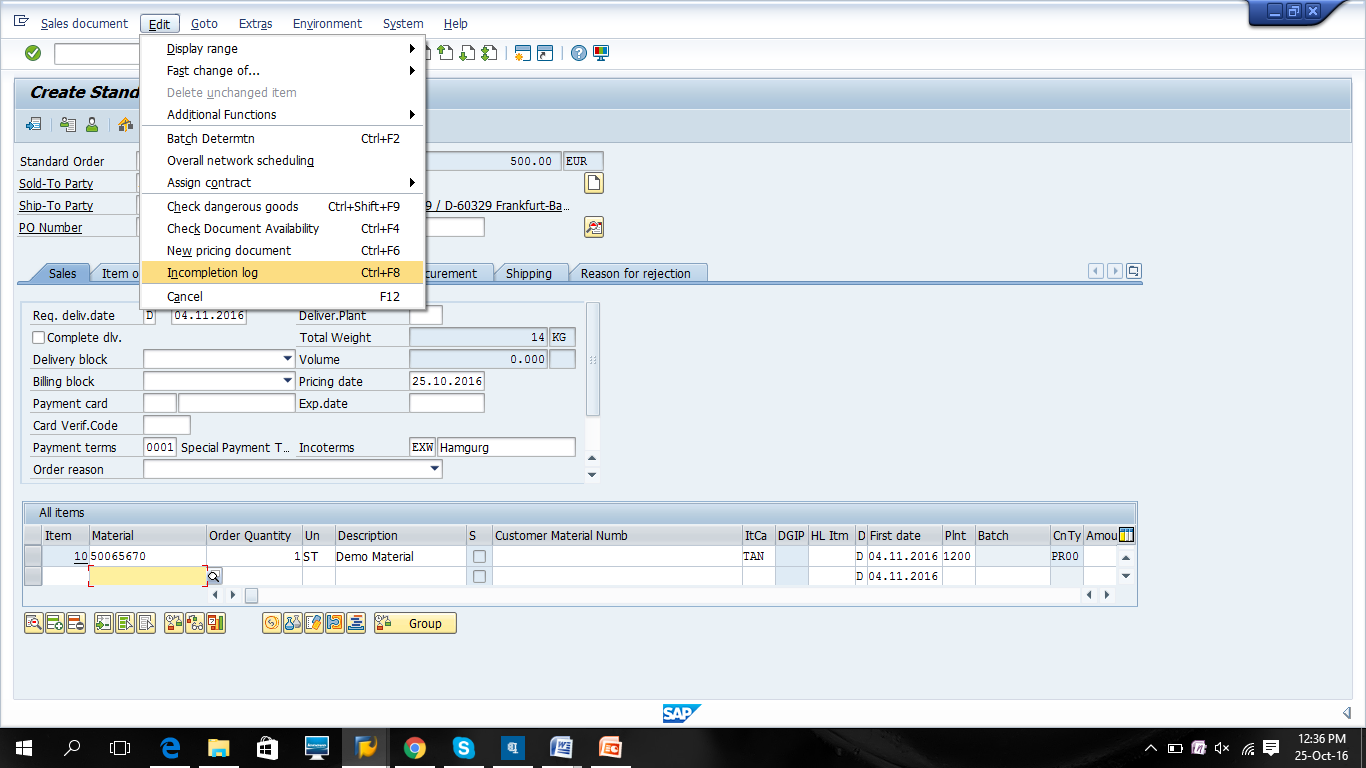
If the document is complete, the system will prompt the relevant message accordingly ![]() .
.

Sales Order Interface – Header
Press ![]() button to view header details in the sales order.
button to view header details in the sales order.
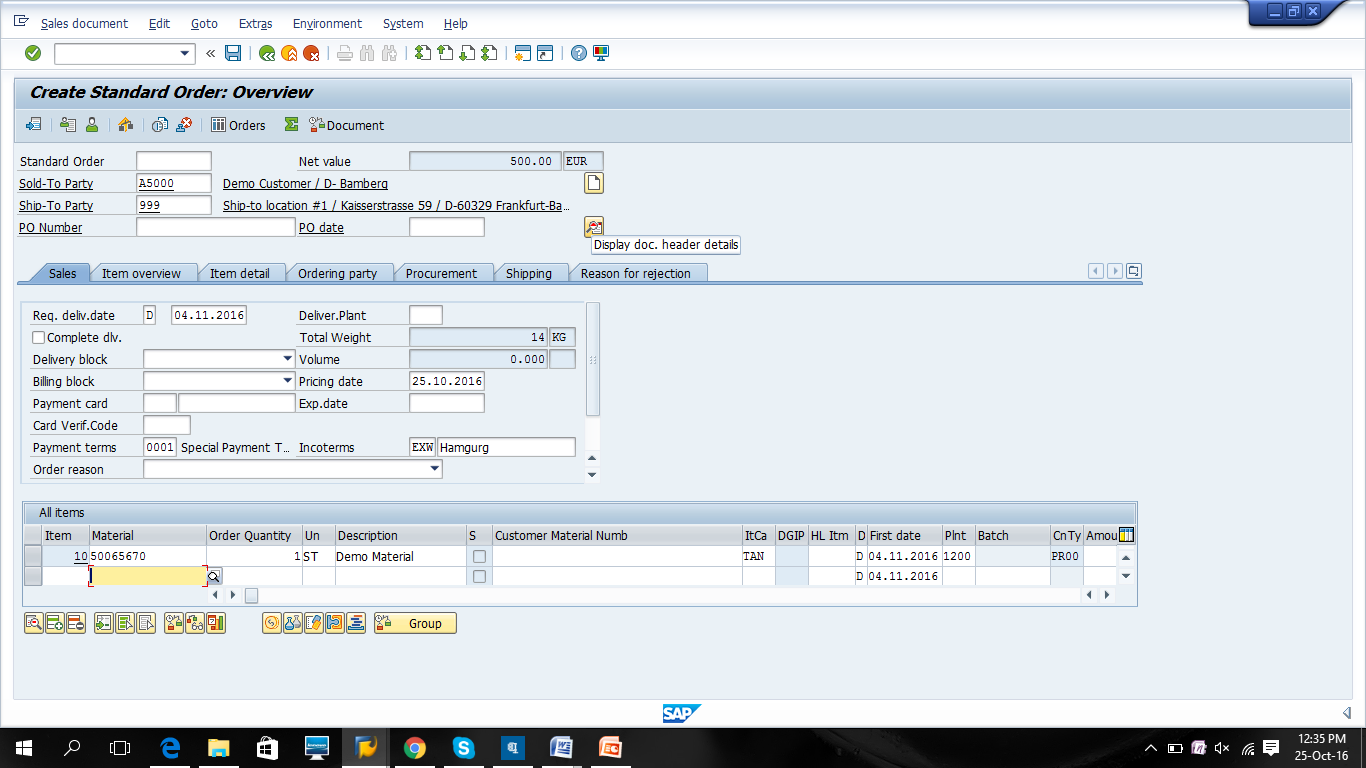
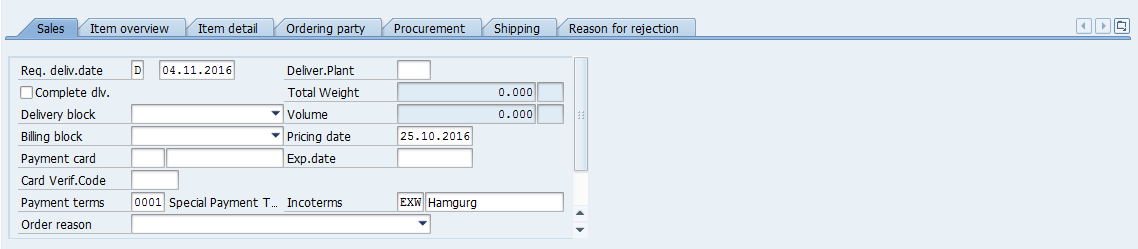
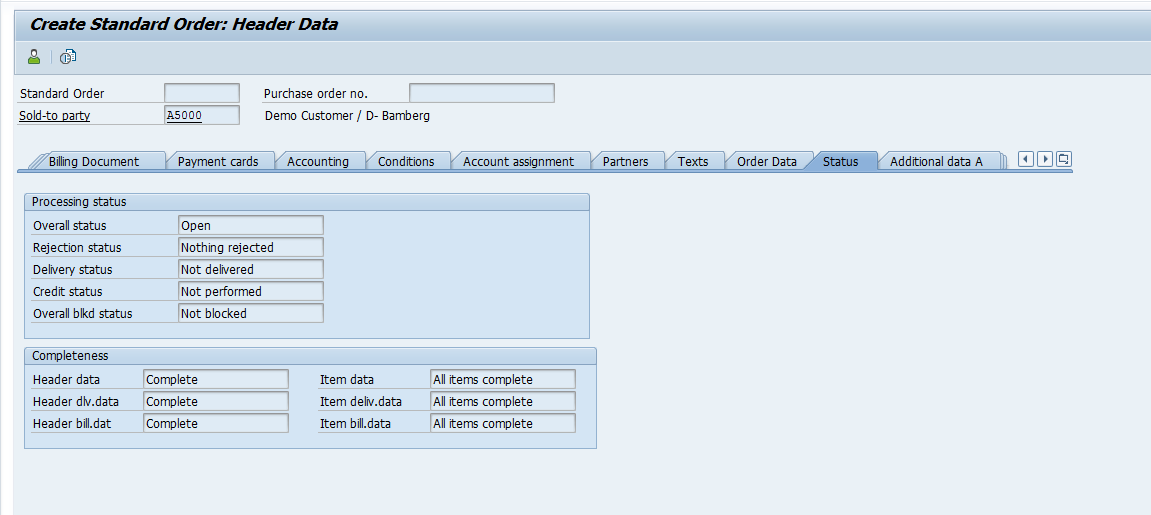
Here you can see the relevant sales data:
- User who created this sales order
- Sales Organization, Distribution Channel and Division information
- Sales Office
- Sales Group
- Date on which the document is created
- Document Currency
- Customer Group
- Price list
- Sales District
Press ![]() tab to see the partners which the customer is having:
tab to see the partners which the customer is having:

Press ![]() to know the current status of the order:
to know the current status of the order:
Press ![]() to go back to the main sales order screen.
to go back to the main sales order screen.
Sales Order Interface – Item
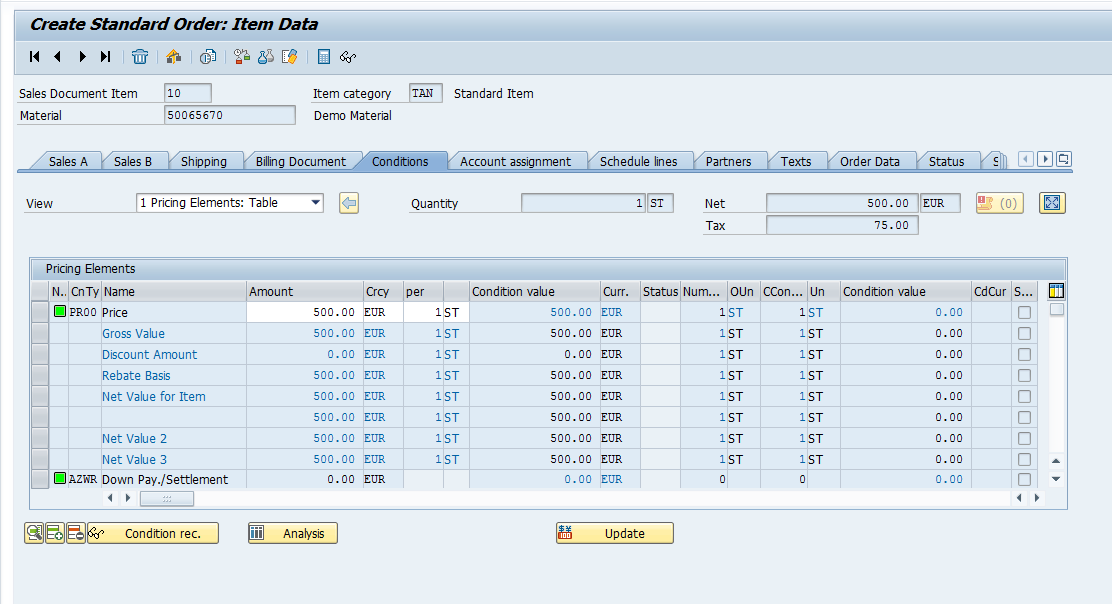
If you want to see the pricing of the individual material, select that line item and press this conditions button ![]() :
:
Here, you can see the pricing of the selected product:
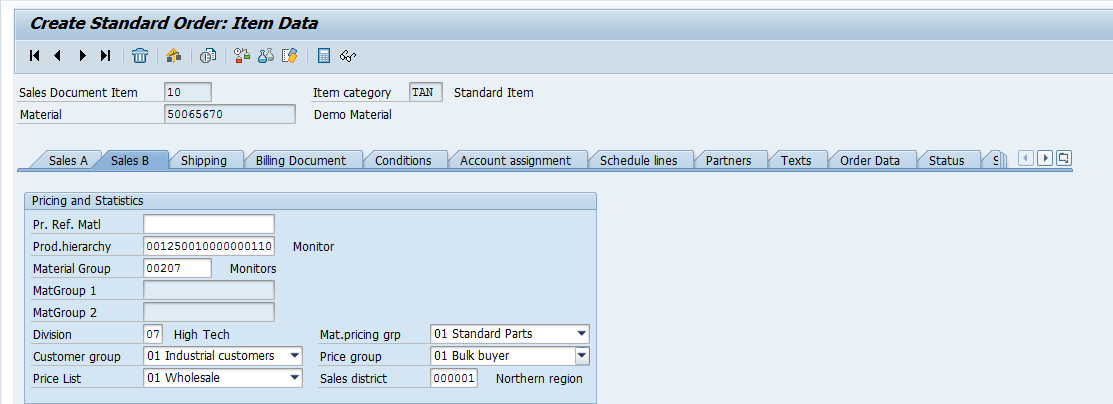
Press ![]() to view finished goods material’s details:
to view finished goods material’s details:
Press ![]() to see if this material is confirmed and available to be delivered on the required date of delivery.
to see if this material is confirmed and available to be delivered on the required date of delivery.

Press ![]() to go back to main sales order screen.
to go back to main sales order screen.
Save Sales Order
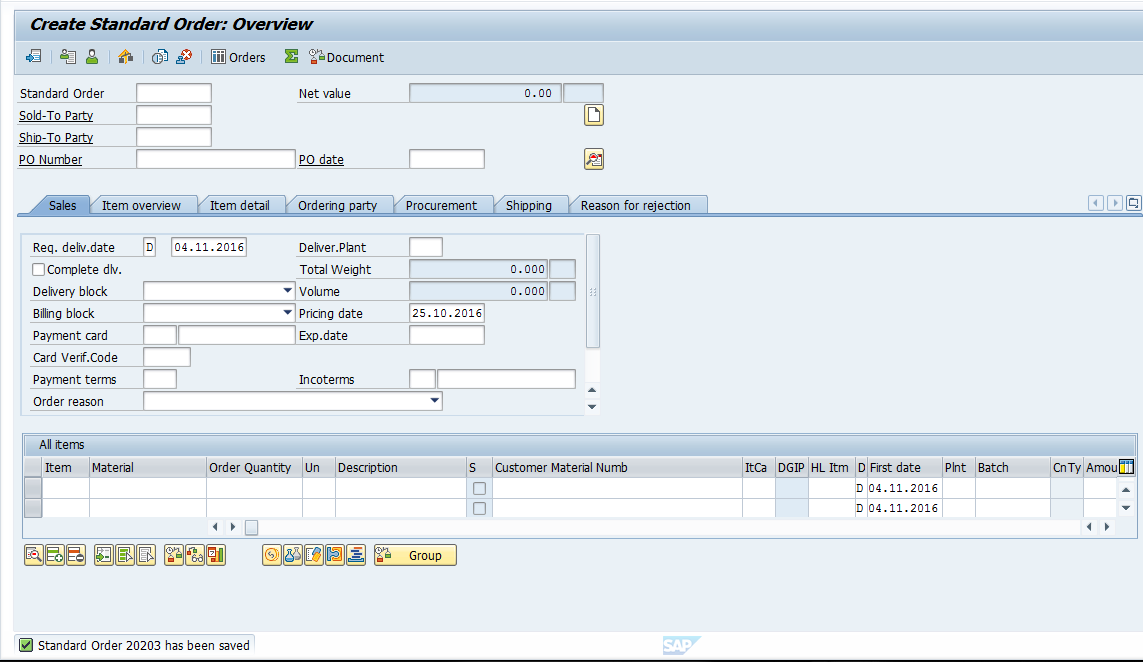
Once you have created the Sales order and satisfied with entering the information, press ![]() to save the sales order. Once you press Save, if the customer’s credit limit is exceeded, a pop will be displayed.
to save the sales order. Once you press Save, if the customer’s credit limit is exceeded, a pop will be displayed.
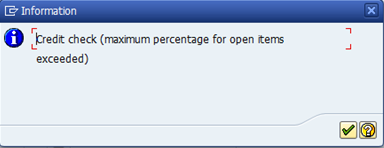
If the customer is a cash customer or if the credit customer has no outstanding this pop-up window of credit check will not be displayed and sales order will be saved directly. Press ![]() on the dialog box to continue and the order will be saved by generating a unique sales order number.
on the dialog box to continue and the order will be saved by generating a unique sales order number.
—
Did you like this tutorial? Have any questions or comments? We would love to hear your feedback in the comments section below. It’d be a big help for us, and hopefully it’s something we can address for you in improvement of our free SAP SD tutorials.
Navigation Links
Go to next lesson: How to Create SAP SD Scheduling Agreement
Go to previous lesson: How to Create SAP SD Contract
Go to overview of the course: Free SAP SD Training
ThanK you for this tutorial,
detailed and well explained
thanks
nice explained thank you:)
I like the details and screen captures – very clear tutorial
very detailed and very helpful especially for people like me that no background of using sap.
thank you so much! well done!
Thank you very useful
Easy to understand.. Clear details
Easy to understand.. Well exploitation
Well Explanation. !!
Excellent
Thank you very much Very useful Overview
Congratulations!
This blog is amazing. Thanks to the authors for the quality of the trainings.
Thanks for your clear document.
i have 1 question:
With order has been over credit limit, what should we do at next steps?
Pls help me.
Great tutorial! I have worked in SAP for years and this is a great refresher for getting back into it. It’s like riding a bike.
Evrything is ok but while filling incompletion log three logs are there 1 contractaccount and profit segmentable number are missing how to fill those
NICE INFORMATION ABOUT S O
THANKS FOR SHARING
Your article is thorough and offers insightful information on topic.
You can also create a sales order with reference to an Inquiry