
 Welcome to the tutorial about SAP BW flat file loading, where you will learn a detailed and step-by-step process of loading data from flat files to SAP BW InfoObjects. This tutorial includes images to guide you through and is part of our SAP BW training course. It is essential to learn the process of SAP BW flat file loading when one does not have the opportunity to utilize SAP Source Systems. The process looks intimidating, but after completing this tutorial, you’ll gain confidence in doing SAP BW flat file loading on your own.
There are many Standard SAP Extractors to load data to InfoObjects. Some of them include but are not limited to 0MAT_VEND_ATTR, 0SERVICE_ATTR, 0VENDOR_ATTR, etc. However, we will not be always lucky enough to work with the SAP Source Systems and their standard extractors. When we have non-SAP sources, we often rely on flat files to load data to SAP BW InfoObjects. A flat file is a kind of database that stores records in a plain text file. Hence, it is of utmost importance to understand the underlying nuances of SAP BW flat file loading.
Live Scenario
To better understand the SAP BW flat file loading, let me guide you through an actual scenario.
Let us load master data to ZPRD InfoObject, which is a Product InfoObject. This InfoObject has Sales Category (ZCAT_SAL) as the attribute. As SAP BW flat file loading involves many steps, it would become quite complex to understand without categorizing the various sections. Hence, I have divided the SAP BW flat file loading tutorial into the following six sections:
- Create a flat file source system
- Create a DataSource, taking into account the fields in flat file
- Create an InfoPackage to push the data to PSA
- Create transformation between DataSource and the InfoObject
- Create Data Transfer Process (DTP) to load data to the InfoObject
- Check the data in the InfoObject
Create a Flat File Source System
The first part of our SAP BW flat file loading process is making a flat file source system.
Go to Data Warehousing Workbench: Modeling through RSA1 transaction code. The screenshot below is provided for reference:
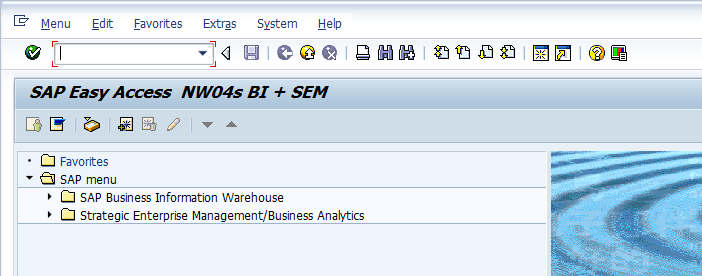
The following screen appears:
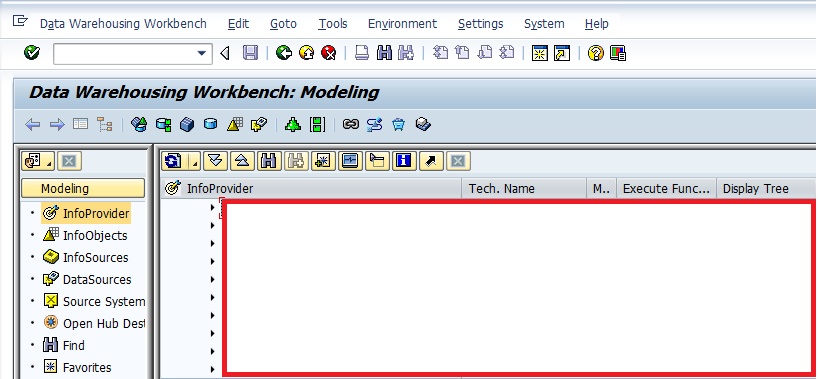
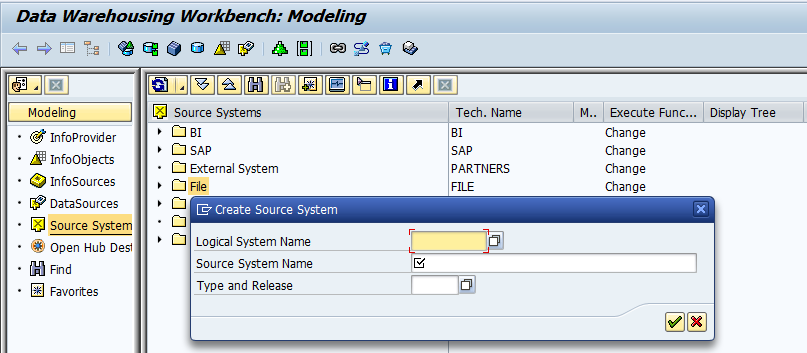
Now, just click on ‘Source Systems’ in the Modeling tab. The following screen appears:
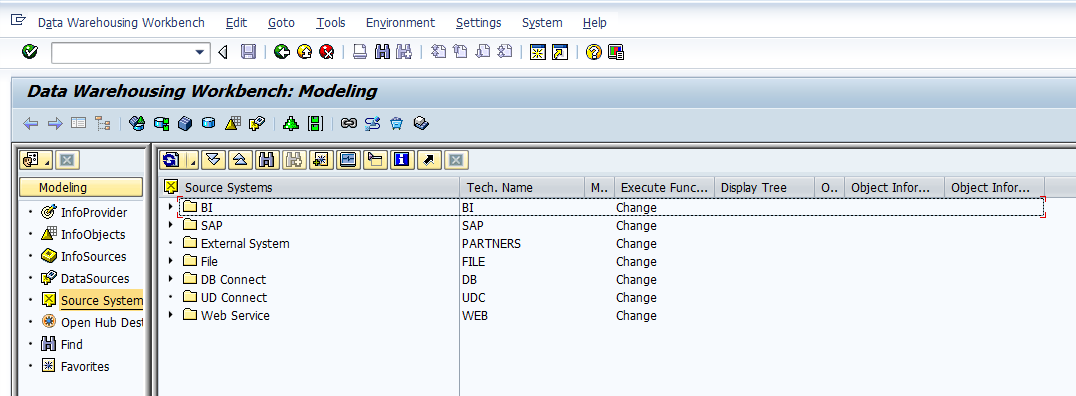
Here, create a file source system by right clicking on ‘File’ folder as shown in the following screen:
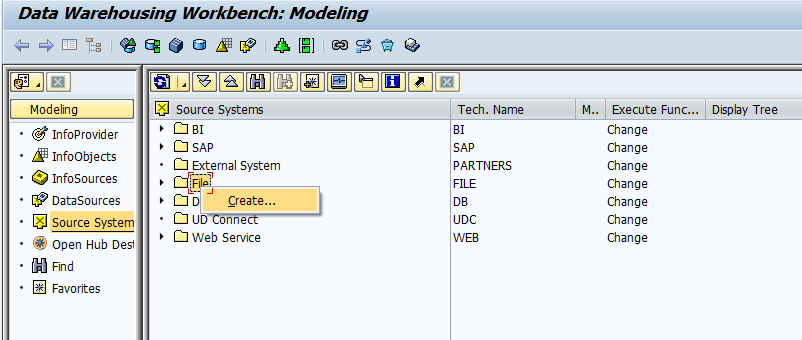
Now, click on ‘Create…’ highlighted in the above screen. The screen will show the following:
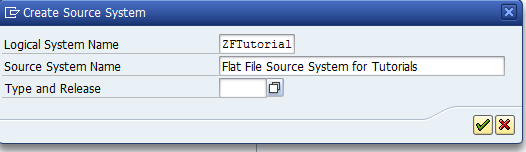
Enter all the required details (Logical System Name and Source System Name) as per the following screen and click on ![]() to proceed further:
to proceed further:
Create a DataSource
At this point of SAP BW flat file loading, we are going to create a DataSource, taking into account the fields in flat file. Just click on ‘DataSources’ in the Modeling tab. The screen below appears:
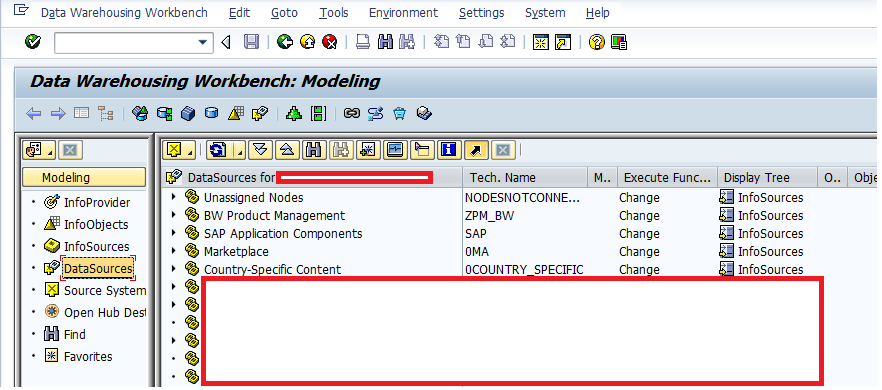
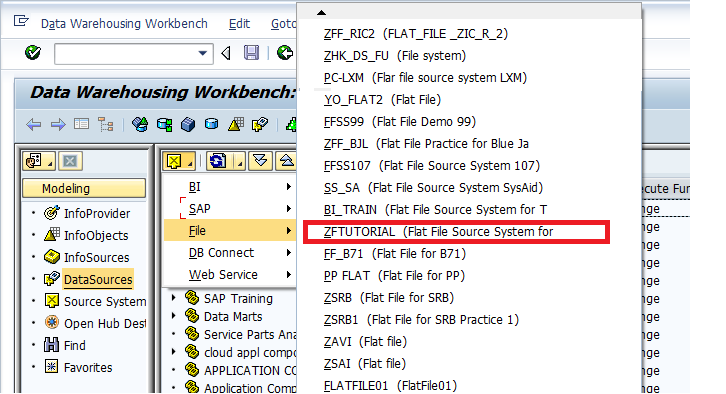
Select Source System ‘ZFTutorial’ that we have created as per the following screen:
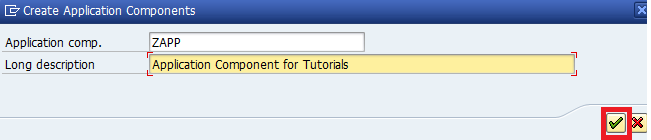
Let’s create a new application component by clicking on ‘Create Application Component…’ as per the following screen:

Enter the technical name and description as per the following screen and click on ![]() to proceed further:
to proceed further:
Let’s now right click on the newly created application component ‘ZAPP’ and click on ‘Create DataSource…’ highlighted in the following screen:

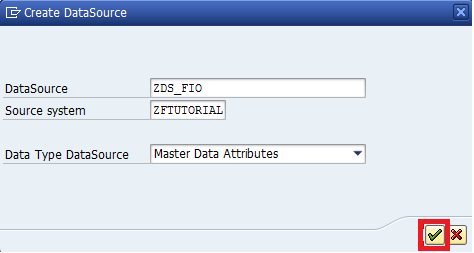
The screen will display the following:
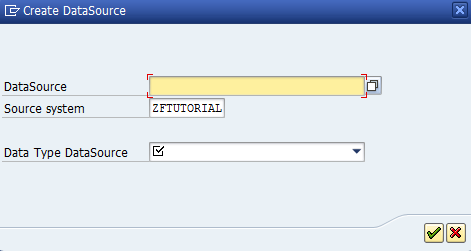
Enter technical name for the DataSource as per the following screen:
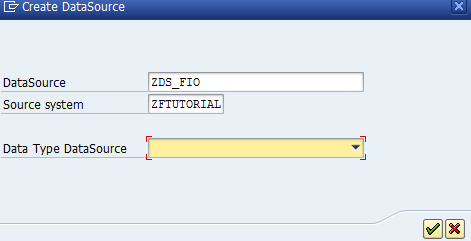
Now, choose the Data Type DataSource as ‘Master Data Attributes’. The screenshot is given below:
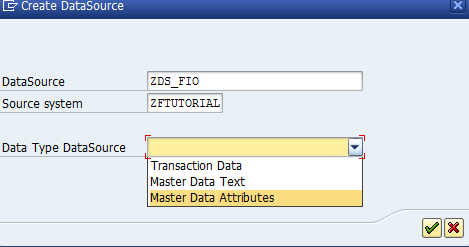
Next, click on ![]() highlighted in the screen below to proceed further:
highlighted in the screen below to proceed further:
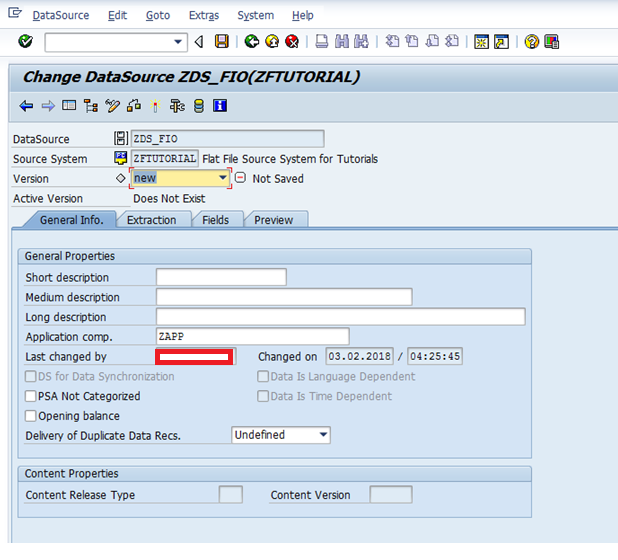
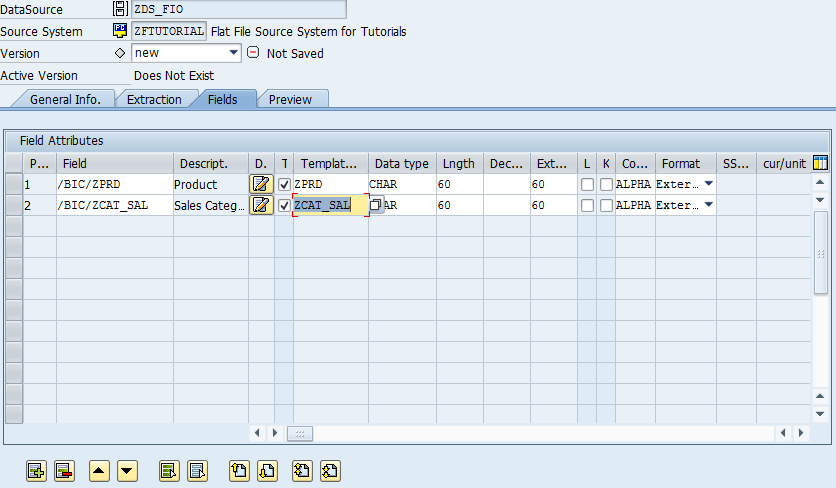
The following screen appears:
The fields need to be entered as shown below:
Now, go to the ‘Extraction’ tab and choose Adapter, File path, Header rows to be ignored, and Data Format as seen below:
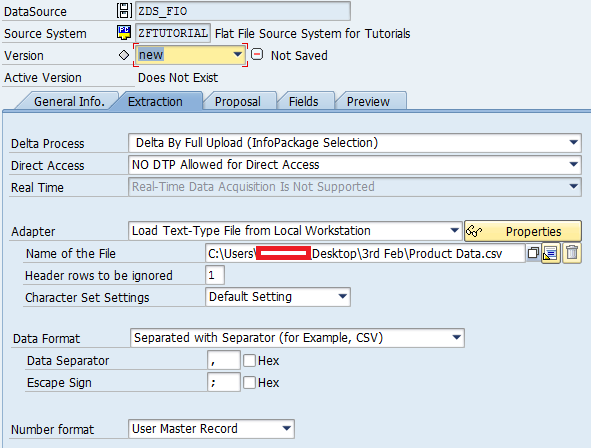
Make sure that you keep the following things in mind for the various file types:
CSV files: When you load data from a CSV file, you should specify the data separator and the escape character.
ASCII files: When you load data from an ASCII file, you should specify the fixed data record length.
Binary files: When you load data from a binary file, you should mention the character record settings.
Text-type files: When you load data from text type files, you should mention the header rows (which will be ignored) and character record settings.
Now, activate the DataSource by clicking on ![]() highlighted in the following screen:
highlighted in the following screen:
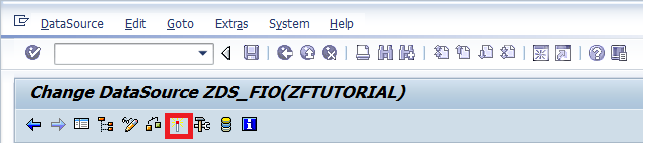
The screenshot is given below:

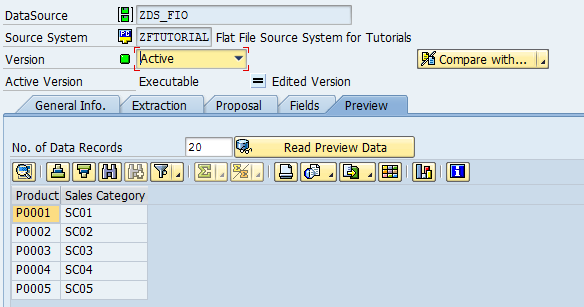
Go to ‘Preview’ tab to have a preview of the data. The screenshot is given below:
Create an InfoPackage to Push Data to PSA
Next, right click on DataSource ‘ZDS_FIO’ that we just created. The screenshot is given below:
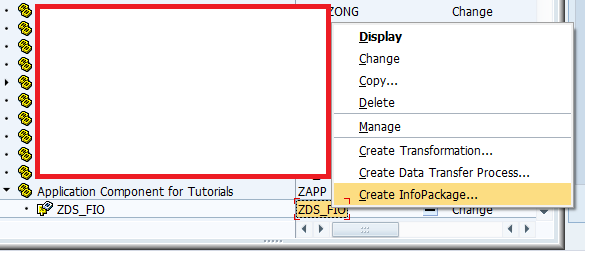
Click on ‘Create InfoPackage…’ highlighted in the above screen. The screenshot is given below:
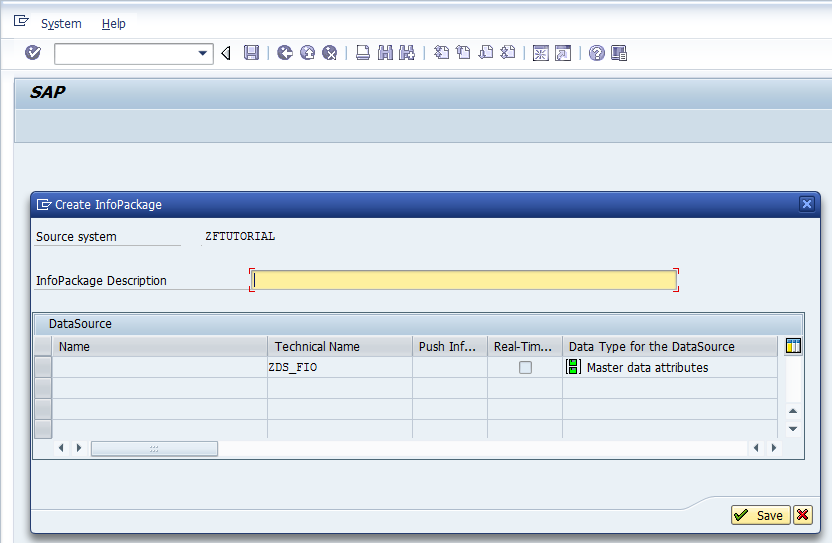
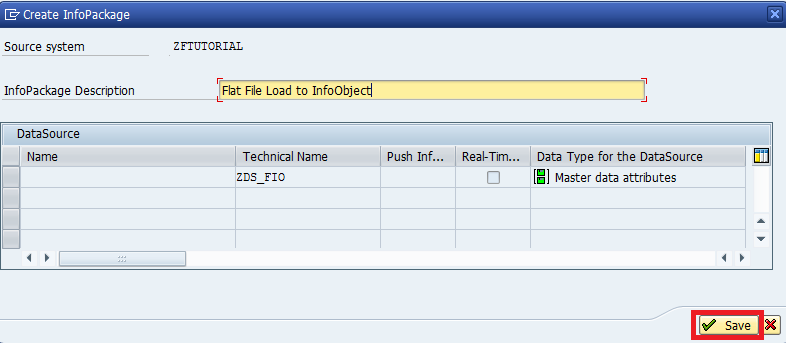
Enter the description for InfoPackage and click on ![]() highlighted in the following screen:
highlighted in the following screen:
The following screen appears:
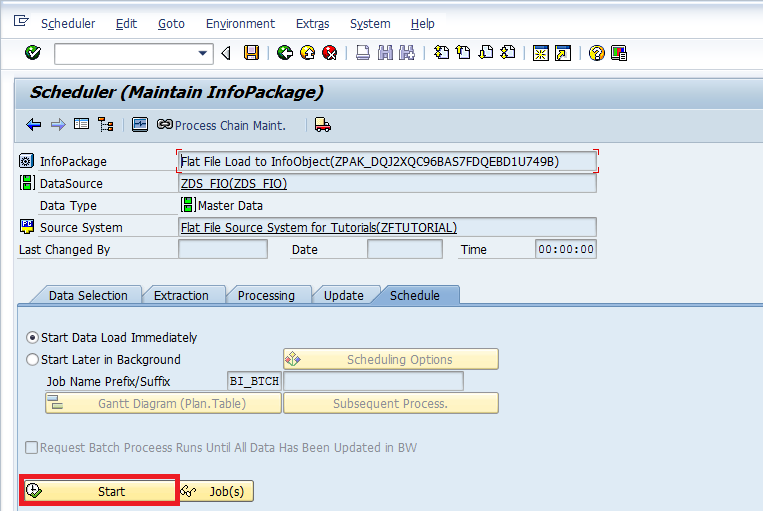
Click on ![]() highlighted in the above screen to kick start the load to the DataSource from the flat file. The following message appears:
highlighted in the above screen to kick start the load to the DataSource from the flat file. The following message appears:

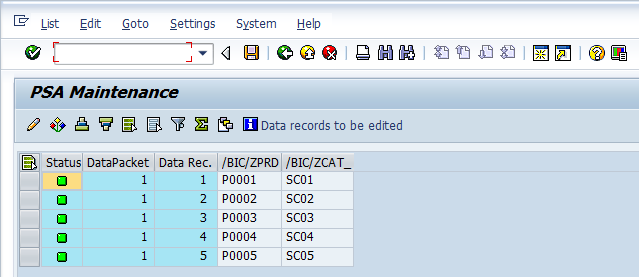
You can see that the Persistent Staging Area (PSA) now stores the data:
Create Transformation between DataSource and the InfoObject
This is an integral part of the SAP BW flat file loading process. Let’s now create transformation by right clicking on DataSource ‘ZDS_FIO’ and clicking on ‘Create Transformation…’ highlighted in the following screen:

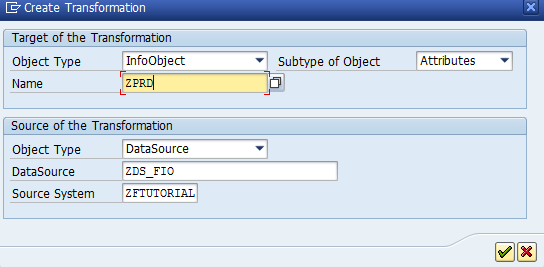
The following screen appears:
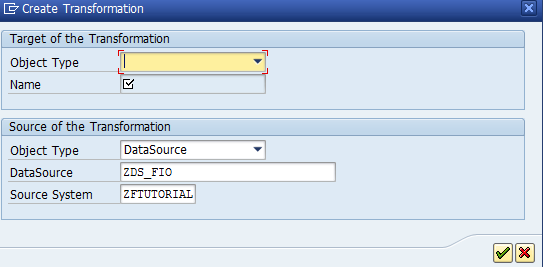
Now, enter Object Type as ‘InfoObject’, Subtype as ‘Attributes’, and Name as ‘ZPRD’. The screenshot is given below:
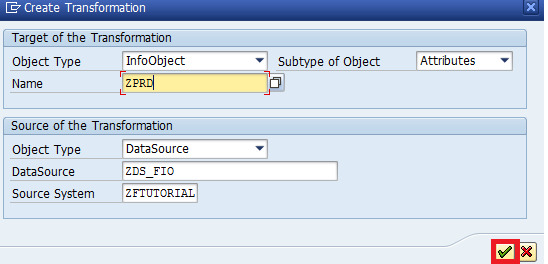
Now, click on ![]() highlighted in the below screen to proceed further:
highlighted in the below screen to proceed further:
The transformation gets created with mappings between source and target fields. The screenshot is given below:
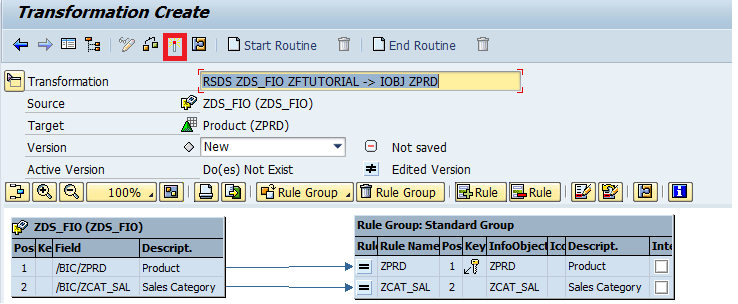
Now, activate the transformation by clicking on ![]() highlighted in the above screen. You’ll get the following message indicating that it got activated successfully.
highlighted in the above screen. You’ll get the following message indicating that it got activated successfully.

Create Data Transfer Process (DTP) to Load Data to the InfoObject
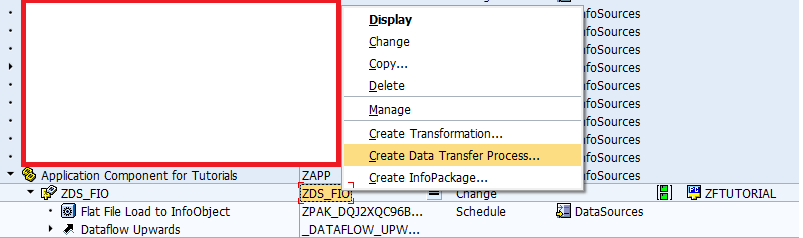
At this step of SAP BW flat file loading, right click on DataSource ‘ZDS_FIO’ and click on ‘Create Data Transfer Process…’ highlighted in the following screen:
You’ll get the following screen:
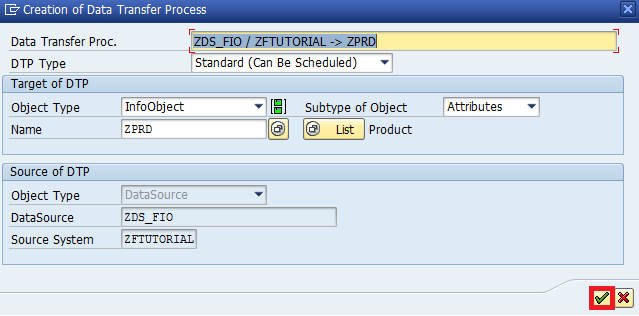
Click on ![]() highlighted in the above screen to proceed further. The following screen appears:
highlighted in the above screen to proceed further. The following screen appears:
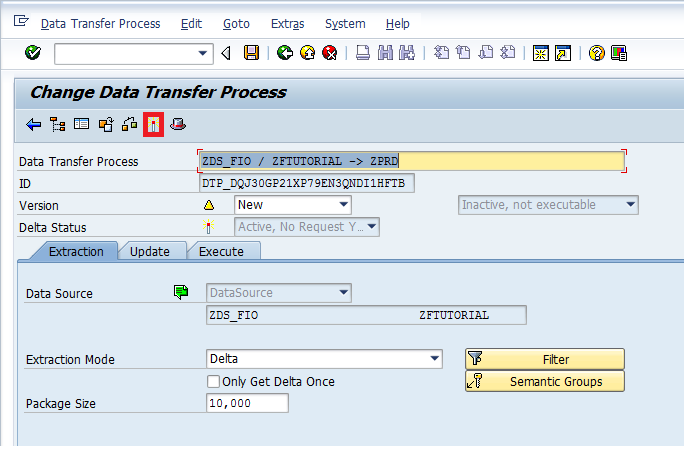
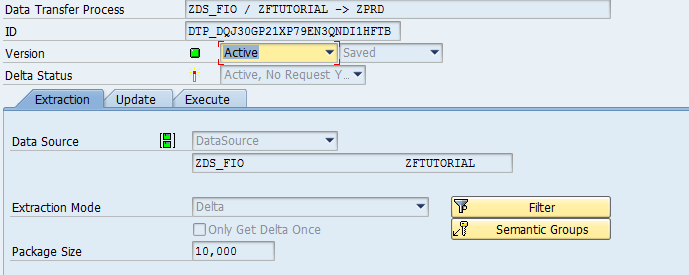
You can activate the DTP by clicking on ![]() highlighted in the above screen. You’ll see the ‘Active’ status in the DTP.
highlighted in the above screen. You’ll see the ‘Active’ status in the DTP.
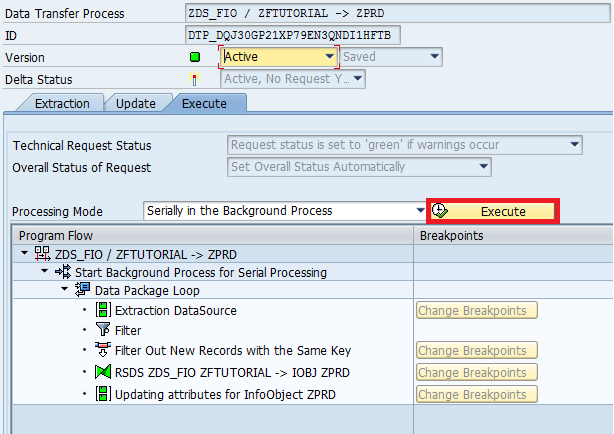
Let’s now load data to the InfoObject by clicking on ![]() in the ‘Execute’ tab of the DTP.
in the ‘Execute’ tab of the DTP.
Check the Data in the InfoObject
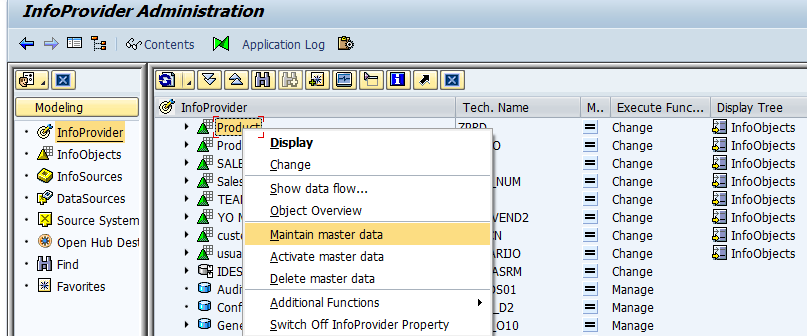
We are now at the last part of SAP BW flat file loading. It’s time to check the data in the InfoObject by right clicking on the ‘ZPRD’ InfoObject and clicking on ‘Maintain master data’ highlighted in the following screen:
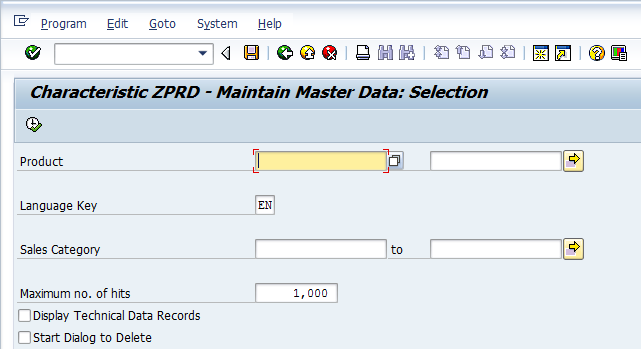
The following screen appears:
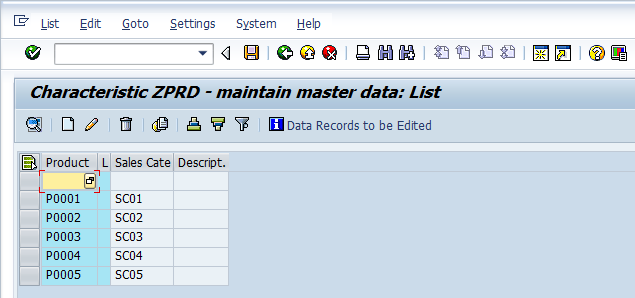
As can be seen from the below screen, all the 5 records got loaded successfully to the InfoObject.
Did you like this tutorial? Have any questions or comments about SAP BW flat file loading? We would love to hear your feedback in the comments section below. It’d be a big help for us, and hopefully it’s something we can address for you in improvement of our free SAP BW tutorials.
Navigation Links
Go to next lesson: SAP BW Flat File Loading to DSO
Go to previous lesson: SAP BW ETL (Extraction, Transformation, and Loading)
Go to overview of the course: SAP BW Training
excellent tutorial
Excellent tutorial. Amazing. I have created a table ,flat file,extract, transform and load data to info object by reading step by step of this tutorial.