
 SAP BW delivers many preconfigured objects. They are called SAP BW Business Content. During SAP implementation, the project team have to configure the BI system as per the requirements of the customers. To simplify and speed up the project, SAP delivers BW Business Content for various modules. It helps in providing a demo to the customers on what is the possible functionality and what needs to be additionally done to fully meet their requirements.
SAP BW Business Content offers multiple benefits. Some of those are listed below:
- Speeds up the implementation process, thereby reducing implementation time and costs
- Serves as a template to get started with the system.
- Good industry specific content which can be leveraged for the respective industries without much modifications
- Easy to modify/customize
- Good number of standard KPIs (Key Performance Indicators)
- Ready-to use transformations, reports, extractors, and data models
As part of SAP BW business content, the objects are delivered with ‘D’ version. Whenever you activate SAP BW Business Content, the object version would change from ‘D’ to ‘A’.
There are various SAP BW Business Content objects. Some of those are given below:
- Query Elements
- Role
- InfoArea
- InfoCube
- MultiProvider
- InfoSet
- InfoObject
- DataStore Object
- Transformation
- InfoSource
- Update Rules
- Broadcast Setting
- BEx Web Item
- Data Sources
- Variables
- Process Chains
- Data Mining Models
- Planning Functions
- SAP Crystal Reports
Business Case
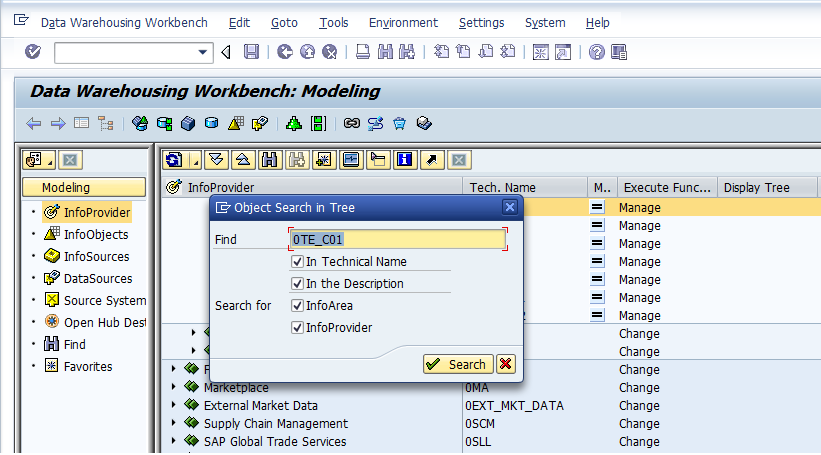
Let’s consider a real-life example from project implementation that there is a business need to develop few reports on Contracts (Overview) InfoCube (0TE_C01). The SAP team tried finding the InfoCube in the list of available InfoProviders. The screenshot is given below:
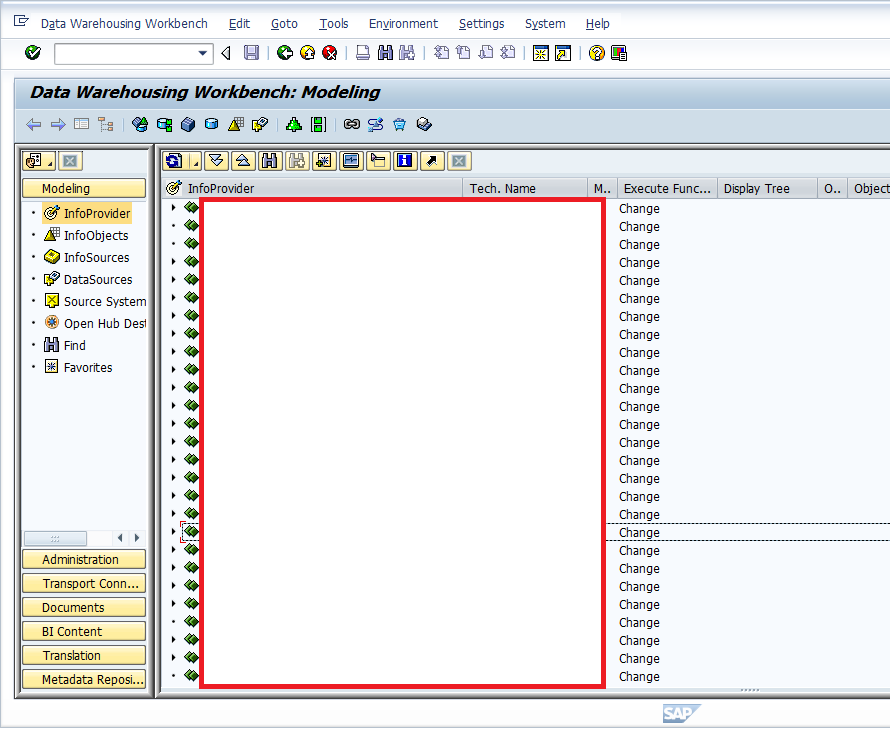
But, there are no hits because the InfoCube is not present in the system. The screenshot is given below:

So, the next immediate step is to install the InfoCube from the BI Content. There are many steps involved in BI Content Installation. Hence, in the next part of the tutorial, I have covered step-by-step process of installing SAP BW Business Content.
SAP BW Business Content Installation Process
Go to transaction code RSA1 to get started with the BI Content Installation.
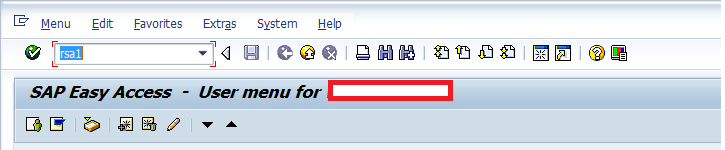
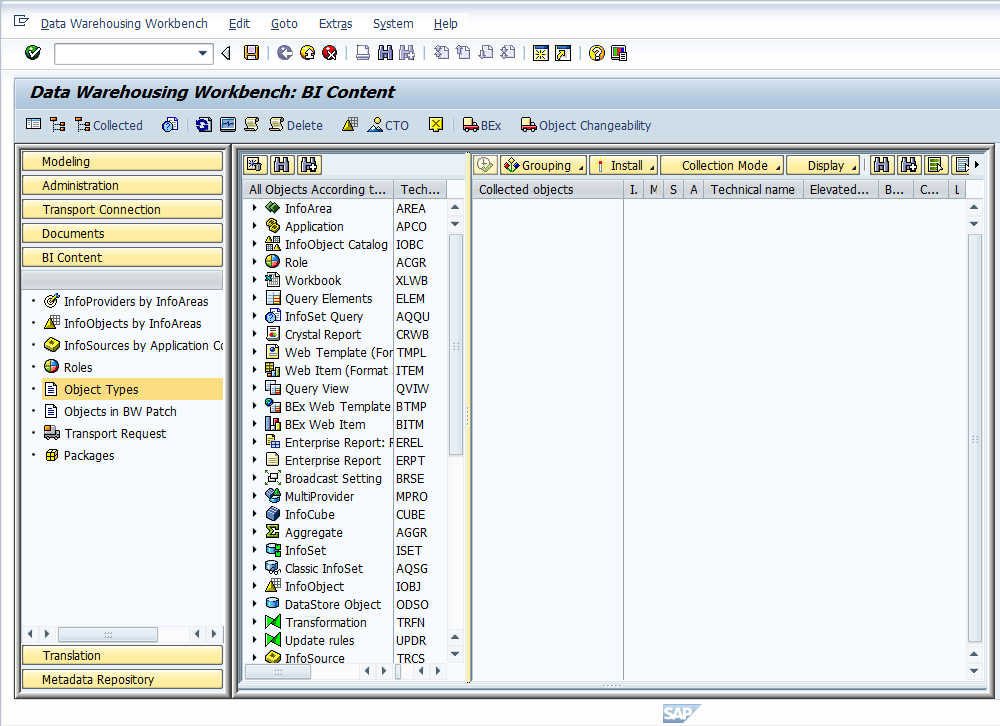
The following screen appears:
There are various panes in the left-hand side of the screen: Modeling, Administration, Transport Connection, Documents, BI Content, Translation, and Metadata Repository. Go to BI Content by clicking on ![]() . The following screen appears:
. The following screen appears:
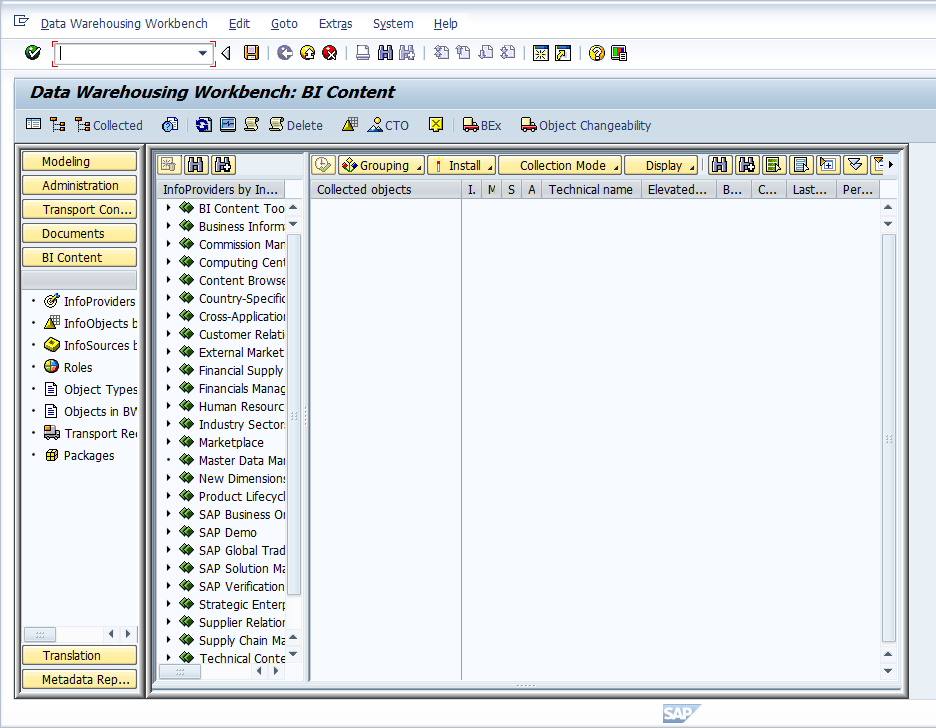
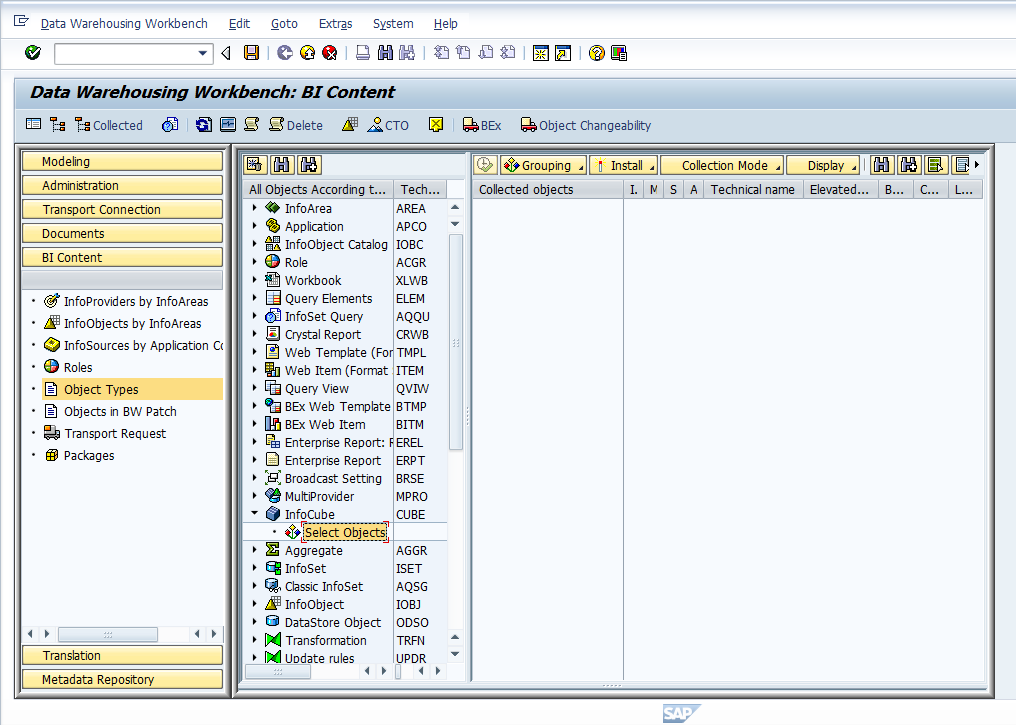
The left pane shows the categories of objects and right pane shows the objects selected for activation. By selecting ‘InfoProviders by Info Areas’, you will get to see the complete list of InfoProviders in the middle pane by Info Area. As we already know that we need to just install ‘0TE_C01’ InfoCube, we can select ‘Object Types’ in the left pane. The screenshot is given below:
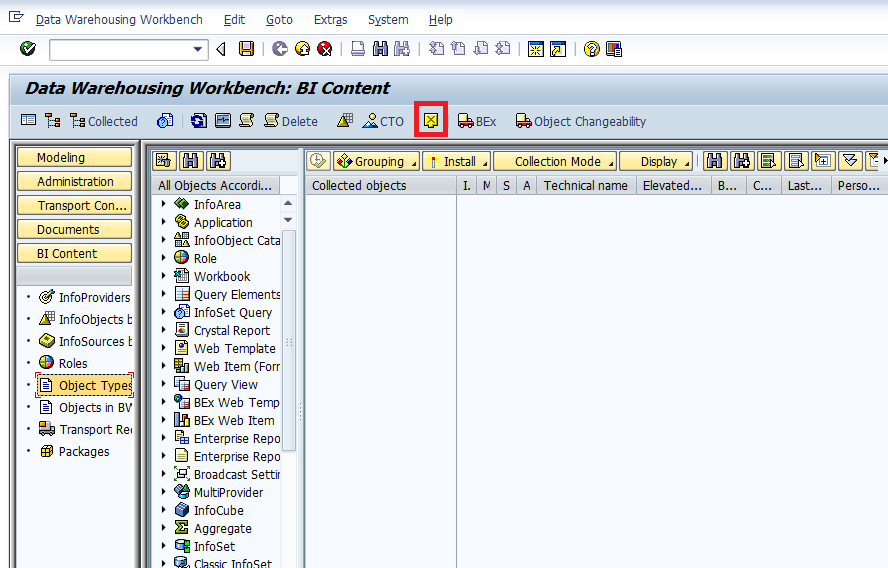
As a prerequisite, you need to make sure that you have the appropriate Source system selected. You need to select source system with utmost care. The installation of Business Content (DataSource/ Update Rules/ Transfer Rules etc.) is completely dependent on the source system. Select the source system by clicking on ![]() highlighted in the below screen:
highlighted in the below screen:
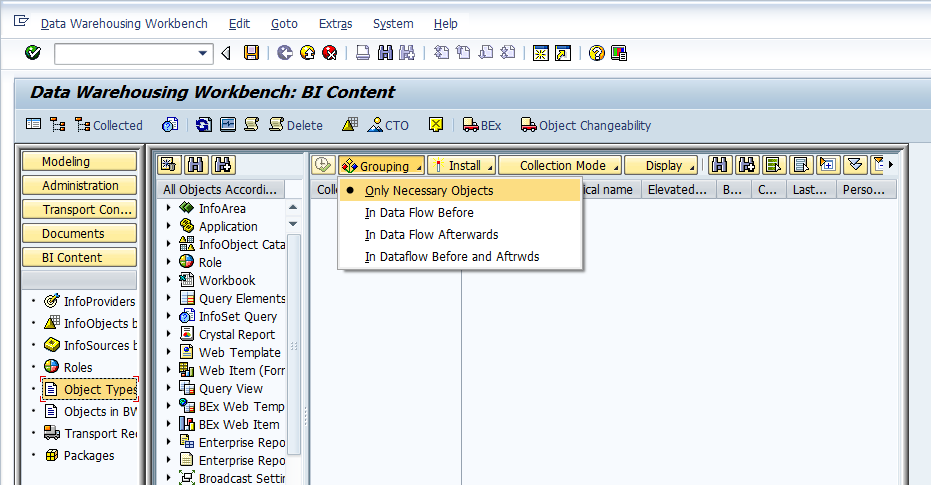
Before you select the object, you also need to make sure that you have the appropriate Grouping selected. You have multiple options to choose from:
- Only Necessary Objects: This activates only the required objects, without installing the data flow above and below the object.
- In Data Flow Before: This activates all the objects that are providing data to the chosen object.
- In Data Flow Afterwards: This activates all the objects that are accessing data from the chosen object.
- In Data Flow Before and Afterwards: This activates the entire data flow. I.e., activates all the objects that are providing data to the chosen object and that are accessing data from the chosen object.
As we’re clear that we need to install just the InfoCube, we will choose the ‘Only Necessary Objects’ as per the below screen:
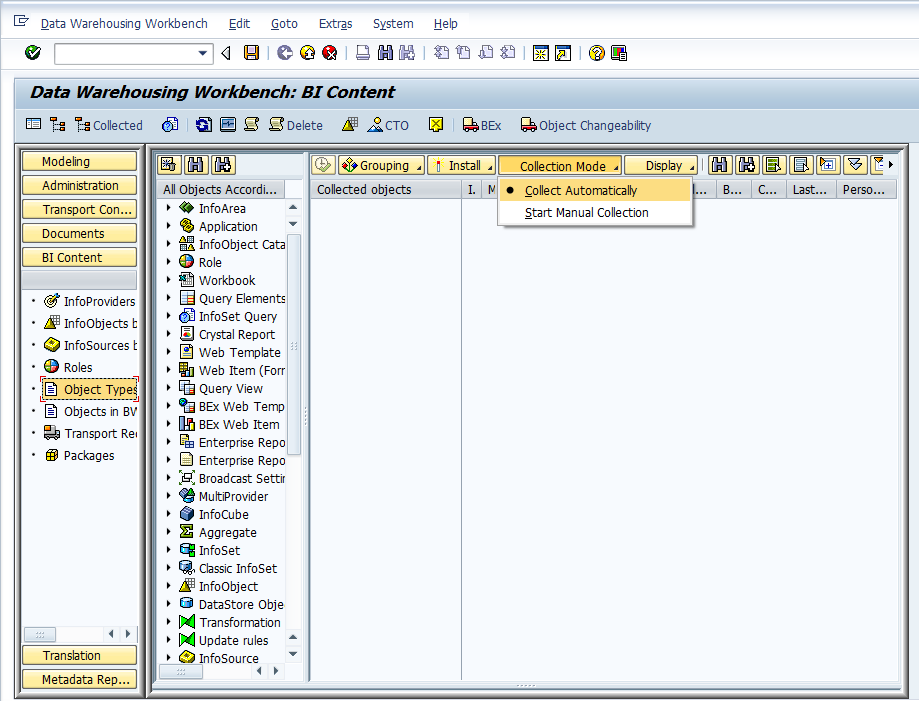
In addition, you also need to make sure that you have the appropriate Collection Mode selected. You have multiple options to choose from:
- Collect Automatically: This collects all the required objects automatically when you drag your object into the ‘Collection Object’ screen.
- Start Manual Collection: This involves manually collecting all the required objects for your selected object.
We will choose the ‘Collect Automatically’ option as per the below screen:
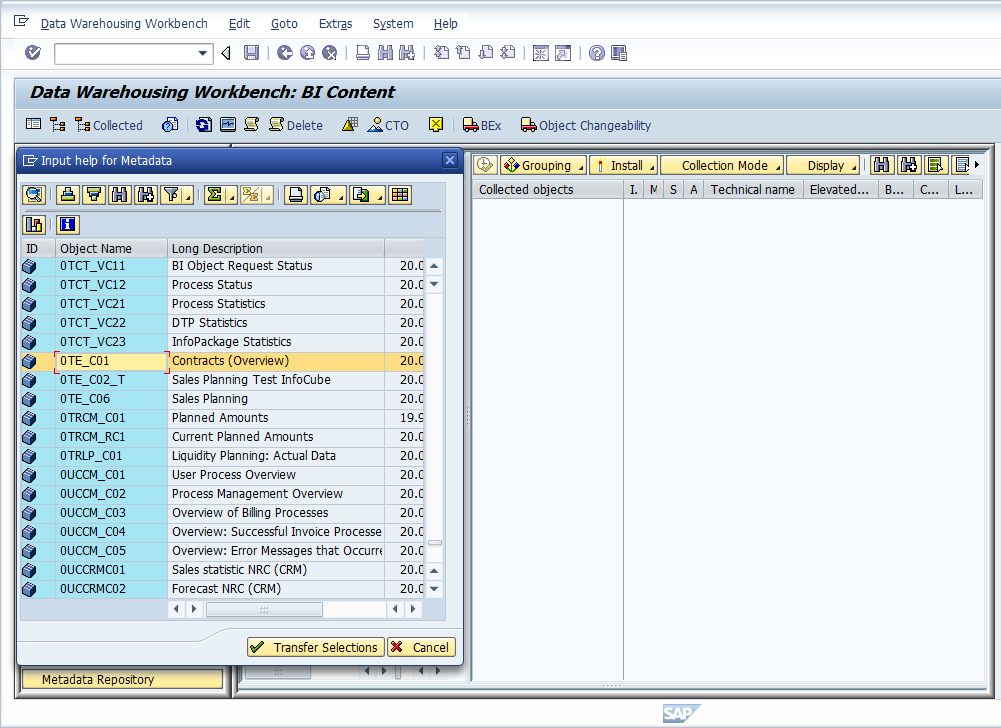
Let us now select the InfoCube in the Middle Pane to choose ‘0TE_C01’ InfoCube. The screenshot is given below:
Double click on ‘Select Objects’ highlighted in the above screen and select InfoCube ‘0TE_C01’. The screenshot is given below:
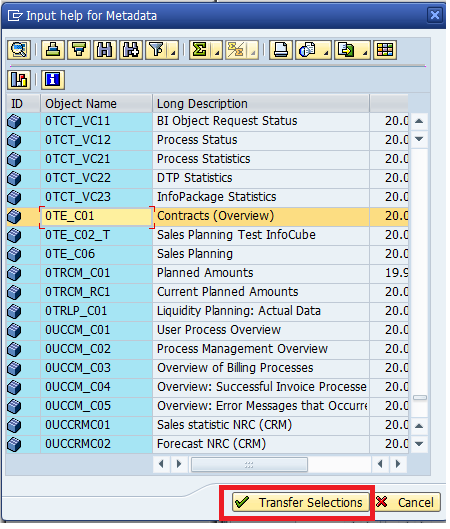
Now, click on ![]() highlighted in the below screen:
highlighted in the below screen:
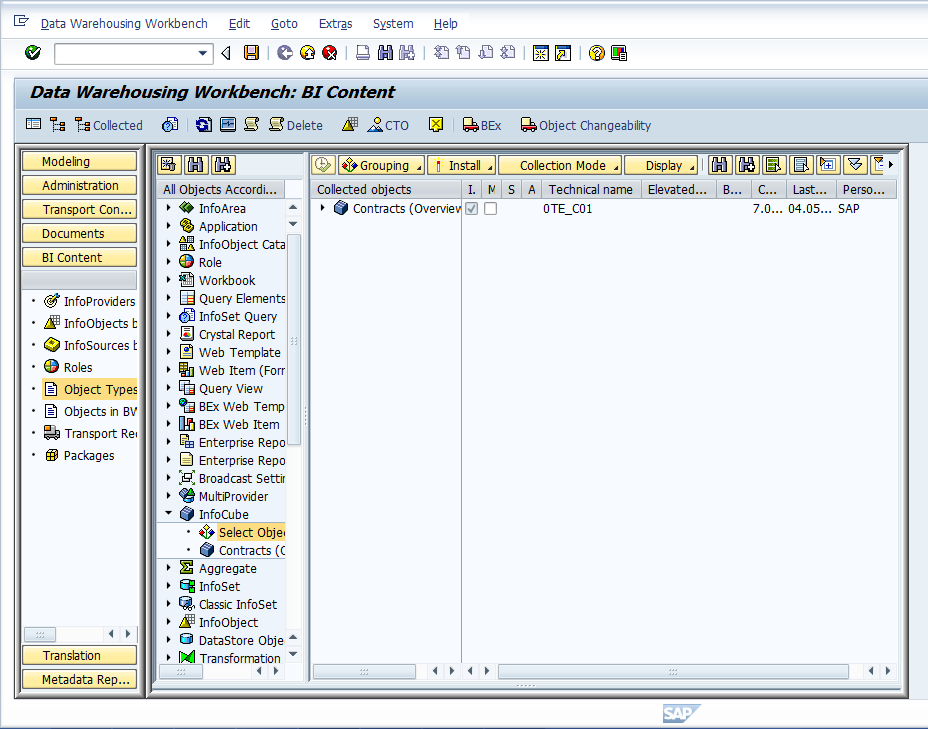
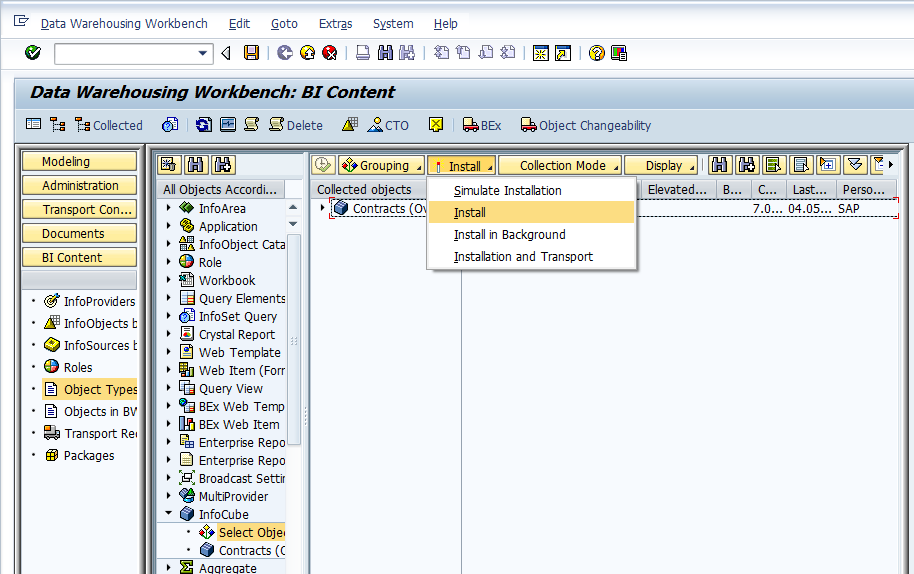
The following screen appears:
The installation can be performed in the following four ways:
- Simulate Installation: This checks for any errors during installation.
- Install: This activates the selected objects in the foreground.
- Install in Background: This activates the selected objects in the background by creating background jobs that can be used for monitoring.
- Install and Transport: This activates and transport the selected objects to the next system.
Let’s choose ‘Install’ option as per the screen highlighted below to install the 0TE_C01 InfoCube.
This completes the installation of the Contracts (Overview) InfoCube.
Conclusion
SAP BW Business Content helps in quick and cost-effective implementation. It offers template/model which can serve as a reference during the implementation. The model is created from the learnings/experiences of various other implementations. Hence, every SAP BW consultant needs to understand the purpose and usage of SAP BW Business Content to avoid creating customized data flows when you already have preconfigured objects to serve the purpose. This helps in reducing time and costs of implementation.
Now that we have installed an InfoCube in this tutorial, it’s time for you to try other object types. The more you try installing various object types, the better will be your effectiveness in leveraging the same in your real-time projects.
—
Did you like this tutorial? Have any questions or comments? We would love to hear your feedback in the comments section below. It’d be a big help for us, and hopefully it’s something we can address for you in improvement of our free SAP BW tutorials.
Navigation Links
Go to next lesson: SAP BW ETL (Extraction, Transformation, and Loading)
Go to previous lesson: SAP BW Report-Report Interface
Go to overview of the course: SAP BW Training