
 SAP BW InfoCube is a type of InfoProvider on which queries can be defined or executed. SAP BW InfoCubes can physically store the data in real database tables or they can just virtually collect the data without storing it permanently.
SAP BW InfoCubes consist of a set of relational tables that are joined logically to form the extended star schema. Basically, multiple dimension tables are joined through a fact table.
SAP BW InfoCubes have three SAP predefined dimensions. They are P (Data Package Dimension), T (Time Dimension), and U (Unit Dimension). SAP BW InfoCube should have a minimum of 4 dimensions (this includes the three predefined dimensions). Similarly, SAP BW InfoCube can have a maximum of 16 dimensions, which means we can define 13 dimensions in addition to the three predefined dimensions. Each dimension can have up to 248 characteristics.
SAP also delivers InfoCubes through the BW Content. They start with a number usually 0. SAP BW InfoCubes that you define should start with a letter (A to Z). It should also have a minimum of three characters and a maximum of nine characters.
In SAP BW, we have three types of InfoCubes. They are given below:
- Standard SAP BW InfoCube
- Real-time SAP BW InfoCube
- Virtual SAP BW InfoCube
A brief overview of each of these types of InfoCubes is given below.
Standard SAP BW InfoCube
In a Standard InfoCube, data is physically stored. There would be one fact table surrounded by multiple dimension tables.
Real-time SAP BW InfoCube
This type of InfoCube is primarily used to support parallel write access. They are predominantly used for planning purposes. Unlike Standard InfoCubes which can just load the data, Real-time InfoCubes can load the data as well as write the data into the cube. So, it should be noted that planning is not allowed when you’re loading data into the Real-time InfoCube. Similarly, while you write the data (while you do the Planning), loading data into the Real-time InfoCube is not allowed.
Virtual SAP BW InfoCube
This type of InfoCube needs to be used when you don’t want to maintain the data physically. The data just gets fetched from the source system directly when you run the query. These types of InfoCubes are primarily used for performing data reconciliation (to reconcile the BW data with the source system data). There are various types of Virtual InfoProviders based on the data loading techniques. They are given below:
- VirtualProvider based on Data Transfer Process for Direct Access
- VirtualProvider based on BAPI
- VirtualProvider based on Function Module
Business Example
There is a business need to create a sales InfoCube with dimensions and a fact table. You can find the layout below.

As can be seen from the above mockup, there are two custom dimensions that need to be defined namely customer and material. The fact table should contain sales related key figures namely net value and quantity. The standard time dimension should contain fiscal year/period.
SAP BW InfoCube Creation Process
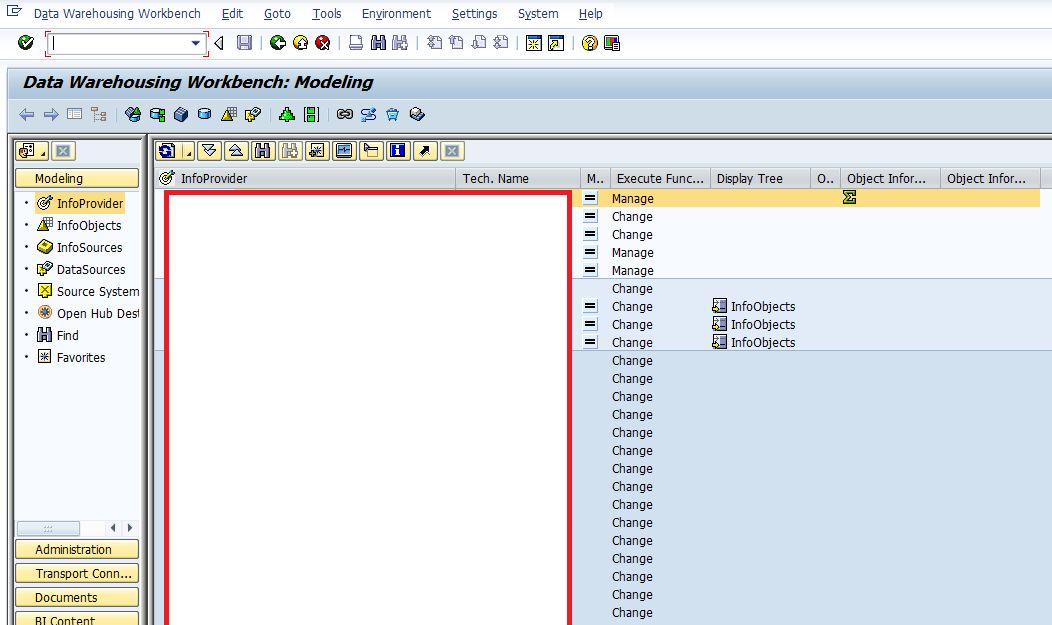
Before we start with the InfoCube creation, make sure that you have all InfoObjects in active state. Go to Data Warehousing Workbench. As mentioned in various earlier tutorials, you can navigate to it through transaction code RSA1. The system shows you the below screen:
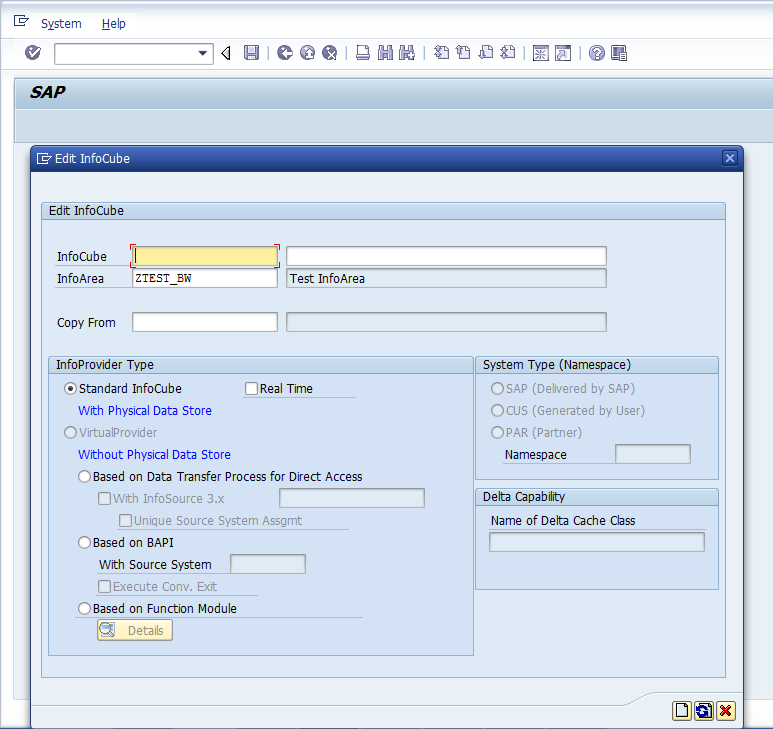
To start creating SAP BW InfoCube mentioned in the mockup, navigate to the InfoArea ‘ZTEST_BW’. The screenshot is given below:
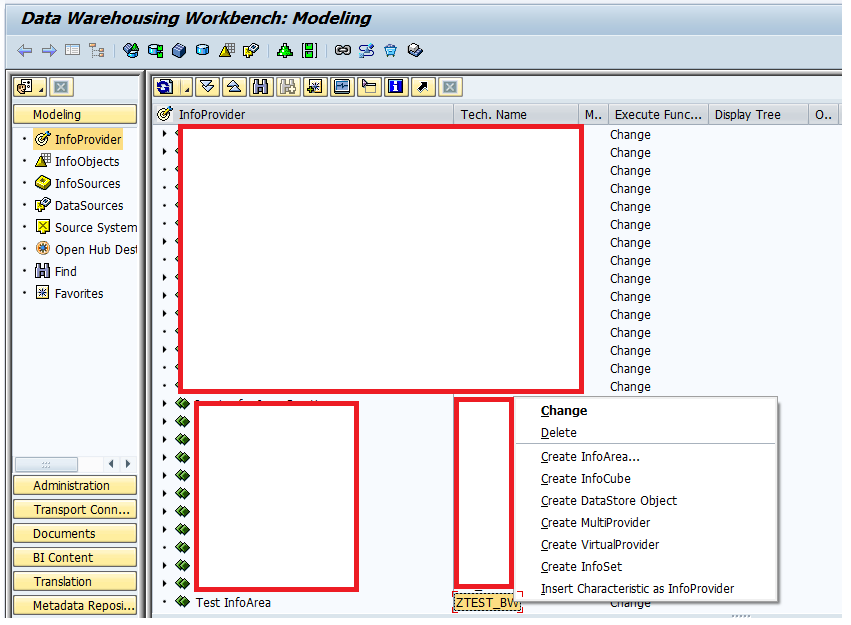
You need to click/select ‘Create InfoCube…’ as emphasized in the following screen:
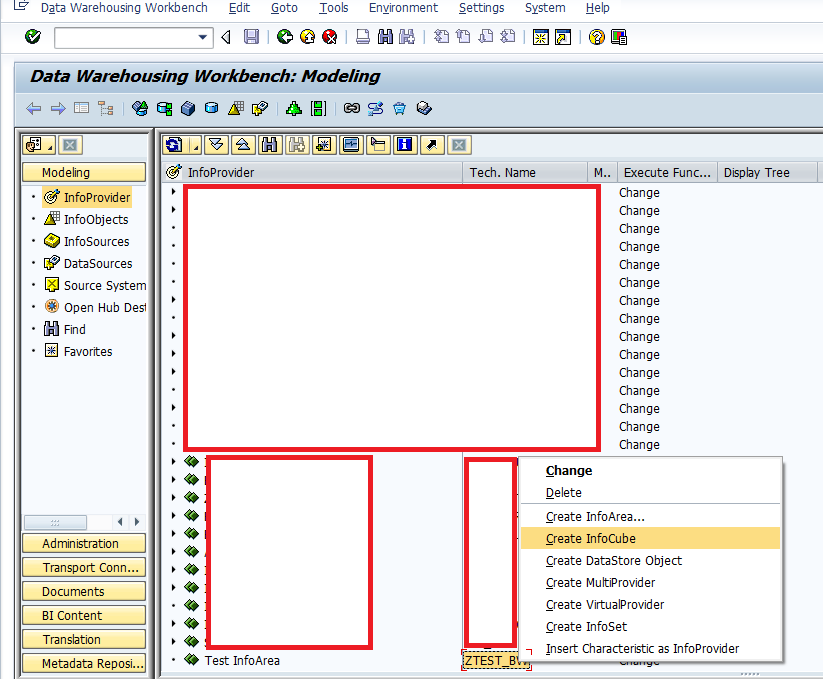
The system will show you the following:
Now, make sure that you type in the details as per the following screen:
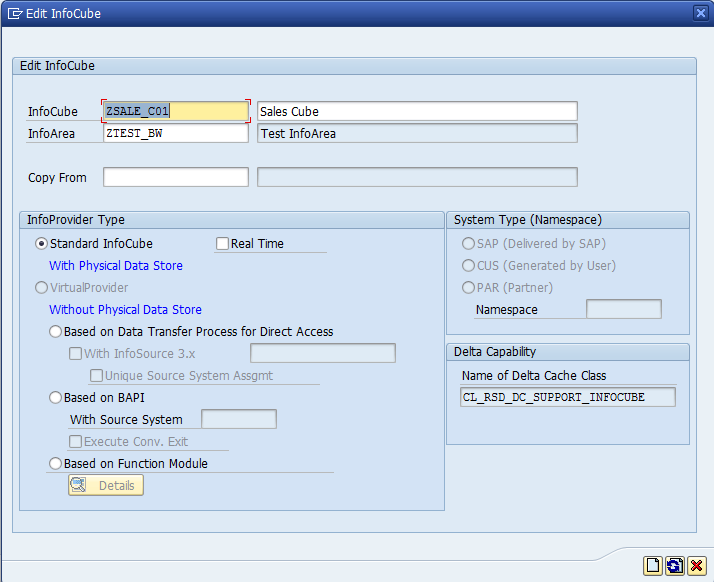
You also need to choose the type of InfoProvider. We will keep ‘Standard InfoCube’ and click ![]() . The system will show you the following screen:
. The system will show you the following screen:
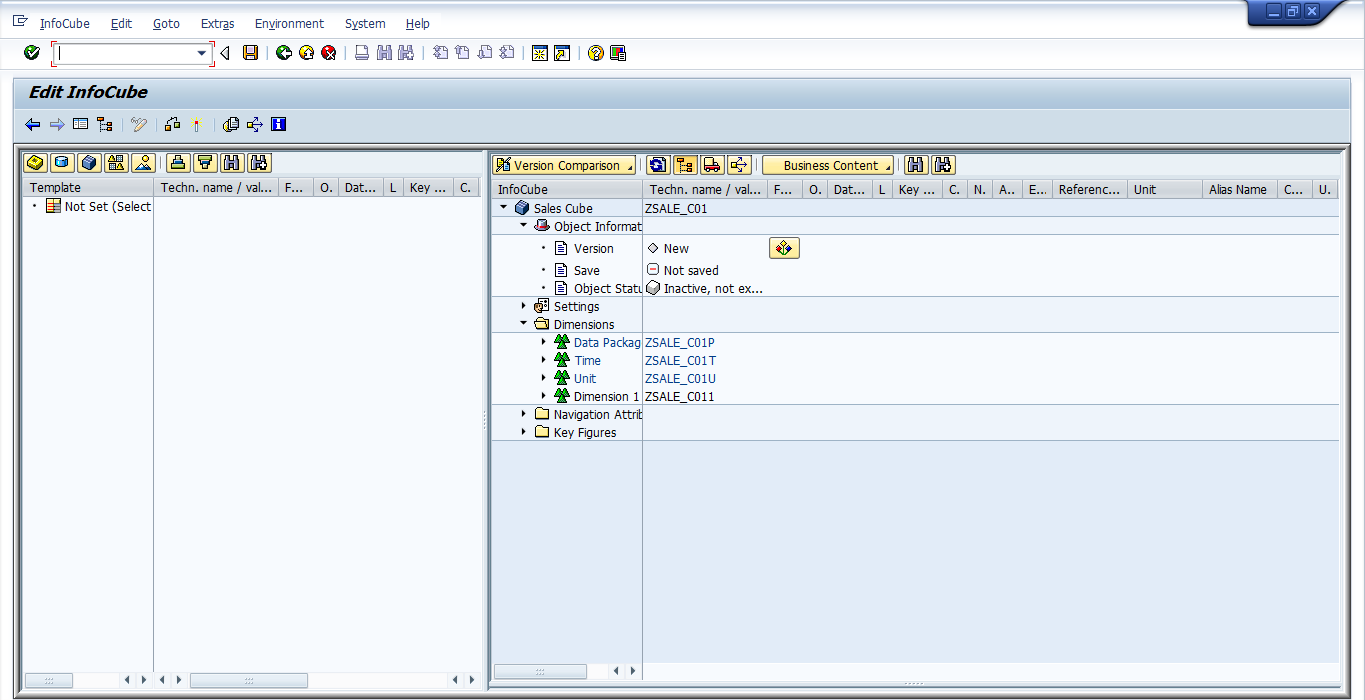
As per the requirement, we need to create two custom dimensions (Customer and Material). Let us right click on the Dimension 1. The system will show you the following:
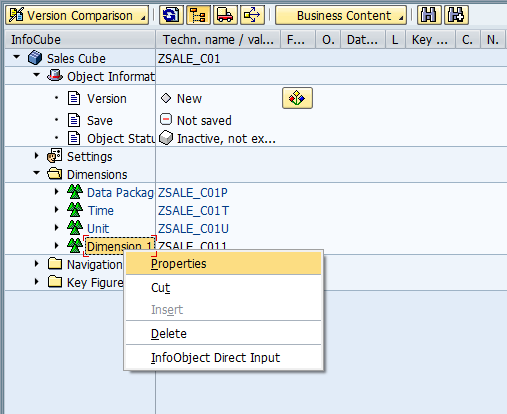
Click on ‘Properties’ emphasized in the above screen. The system will show you the following:
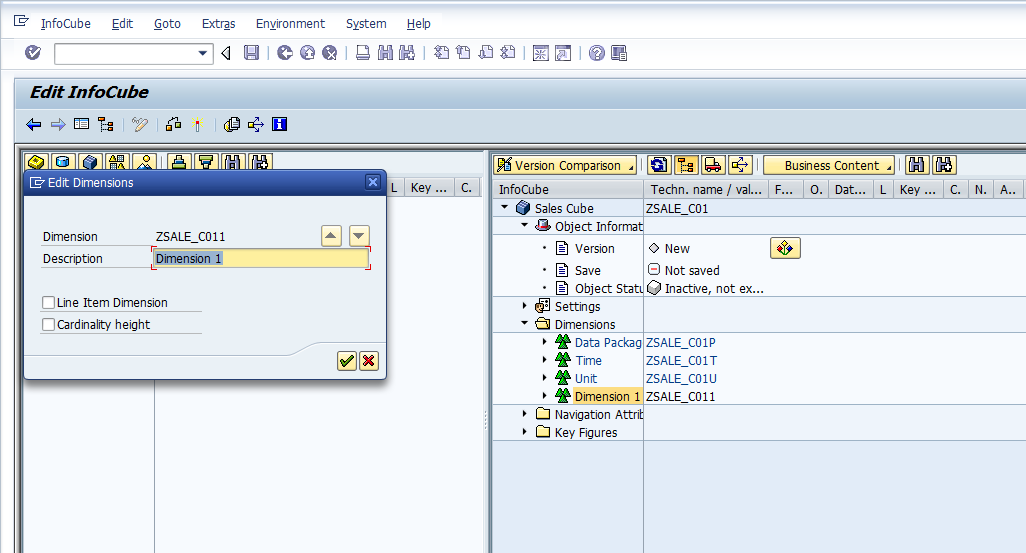
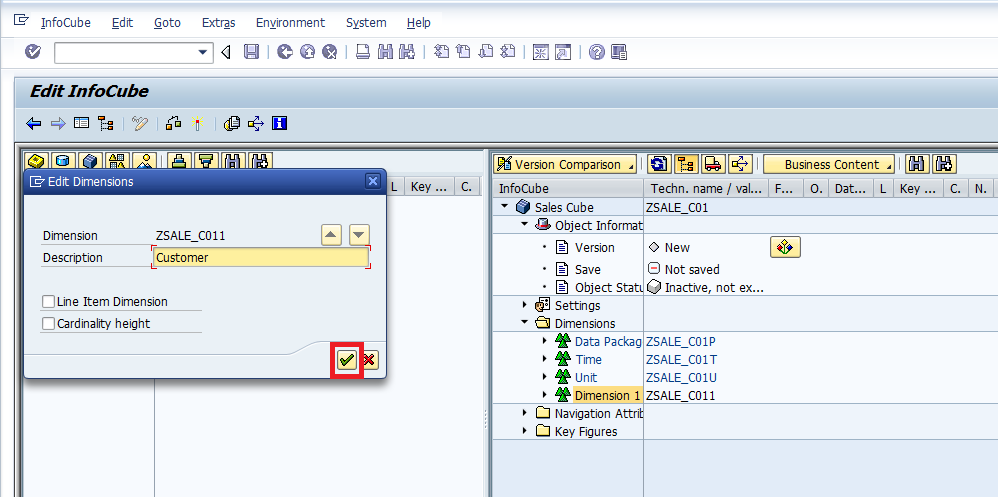
Type in the details for the Dimension (description: Customer). After you’re done, click ![]() to proceed further.
to proceed further.
The system will show you the following:
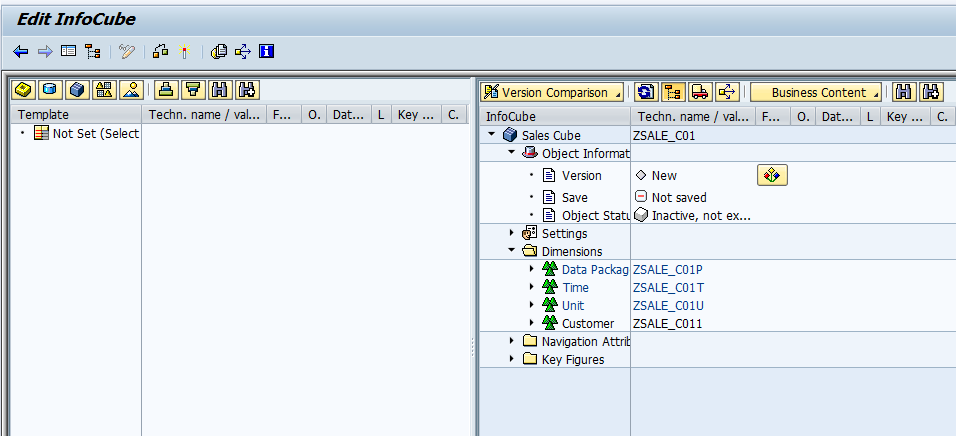
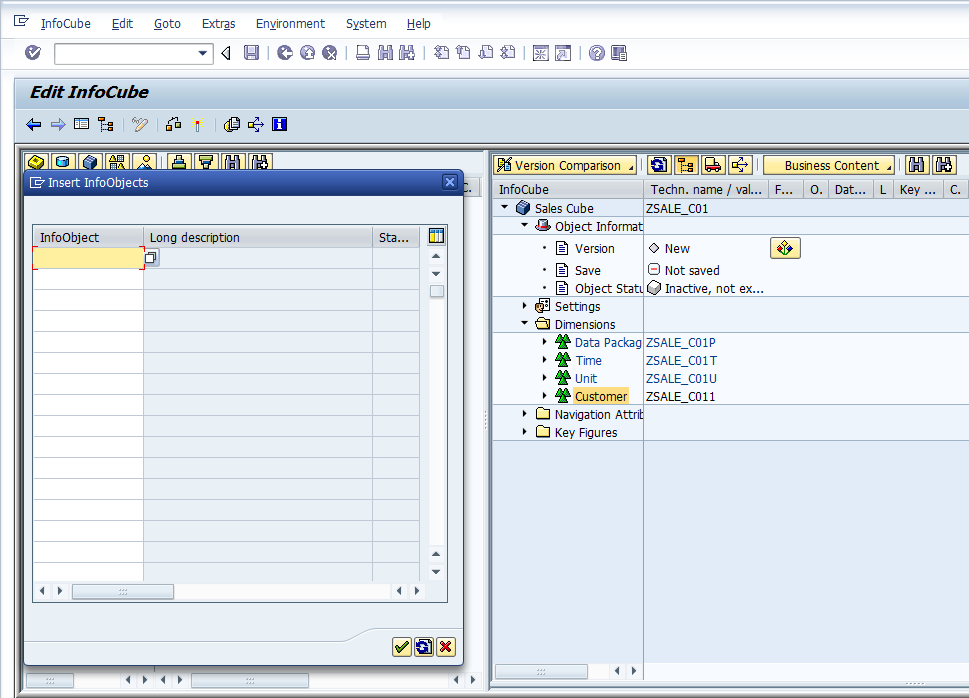
Now, enter all characteristics that should be part of this dimension. To do this, just right click on the dimension ’Customer’.
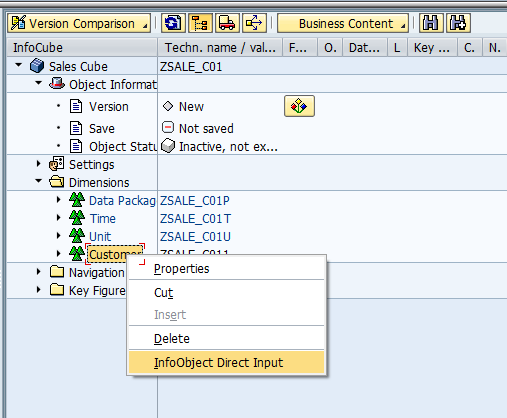
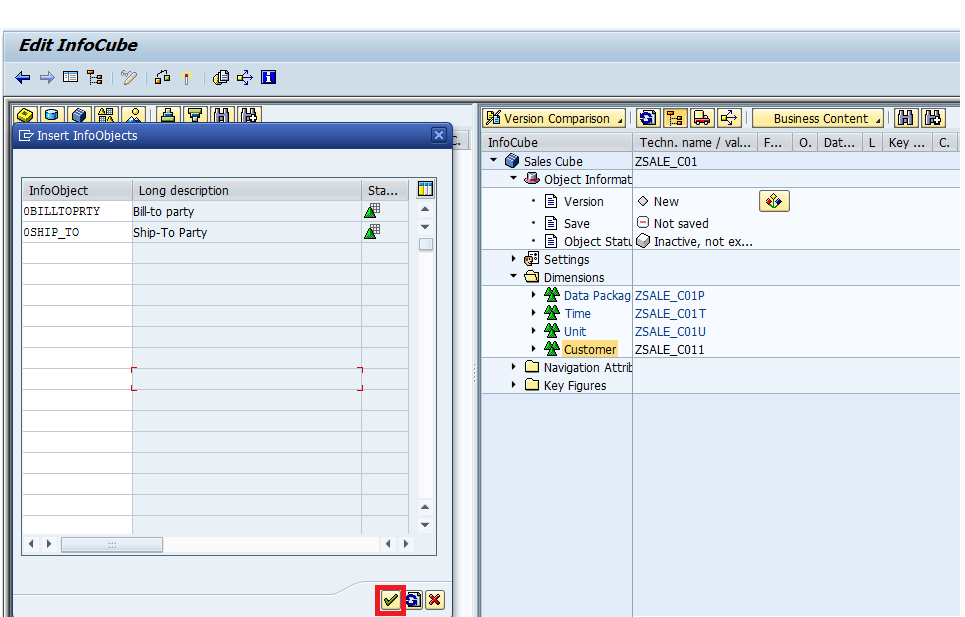
Select ‘InfoObject Direct Input’ emphasized in the above screen to proceed further. The system prompts you with the following sub-screen:
Now, make sure that you enter all characteristics of ‘Customer’ Dimension. Click ![]() to proceed further.
to proceed further.
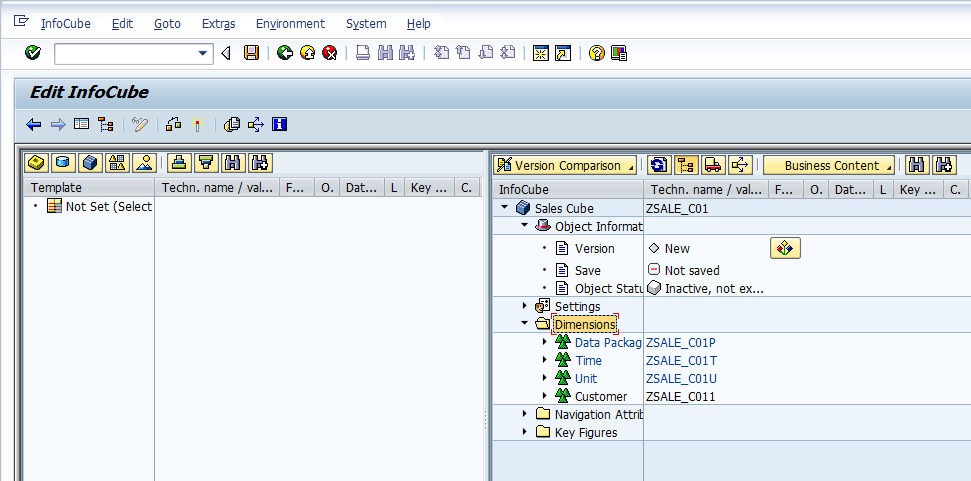
Let’s start to create a new ‘Product’ dimension by selecting ‘Dimensions’ folder emphasized in the following screen:
Right click on ‘Dimensions’ emphasized in the above screen to start with the process of creating additional dimensions.
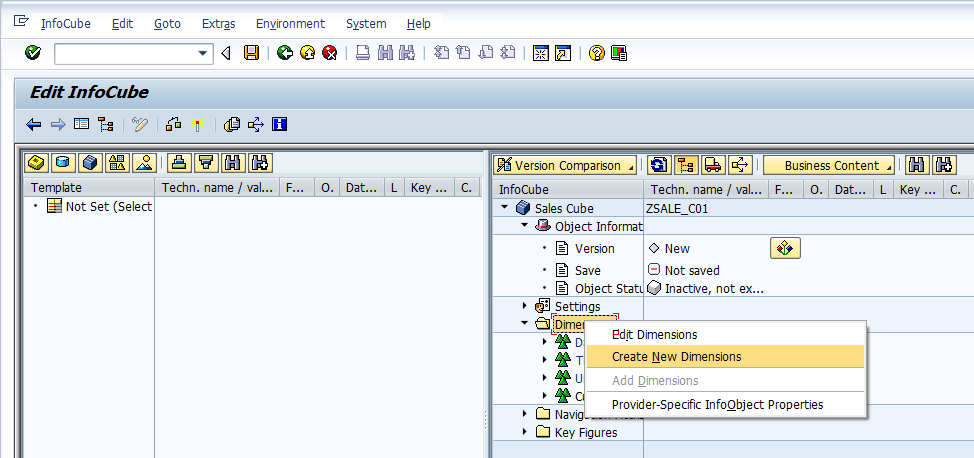
You just have to choose the ‘Create New Dimensions’ emphasized in the above screen to proceed further.
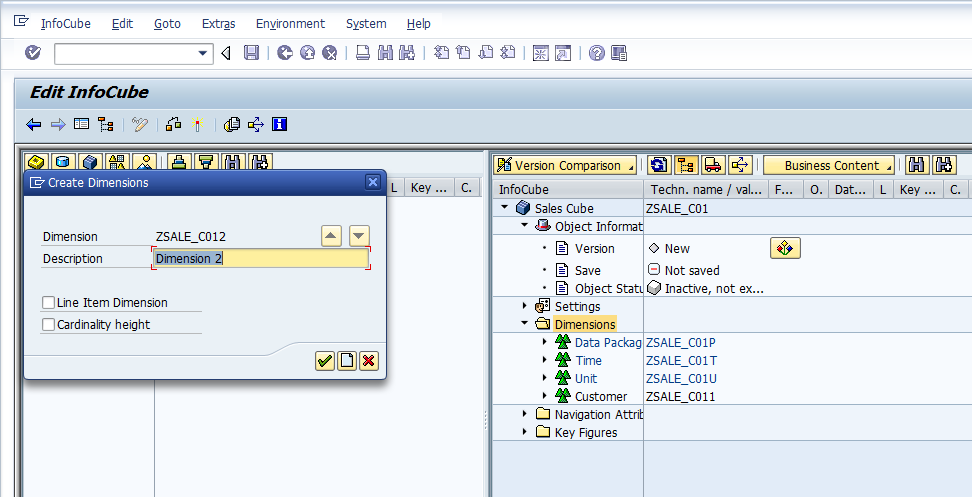
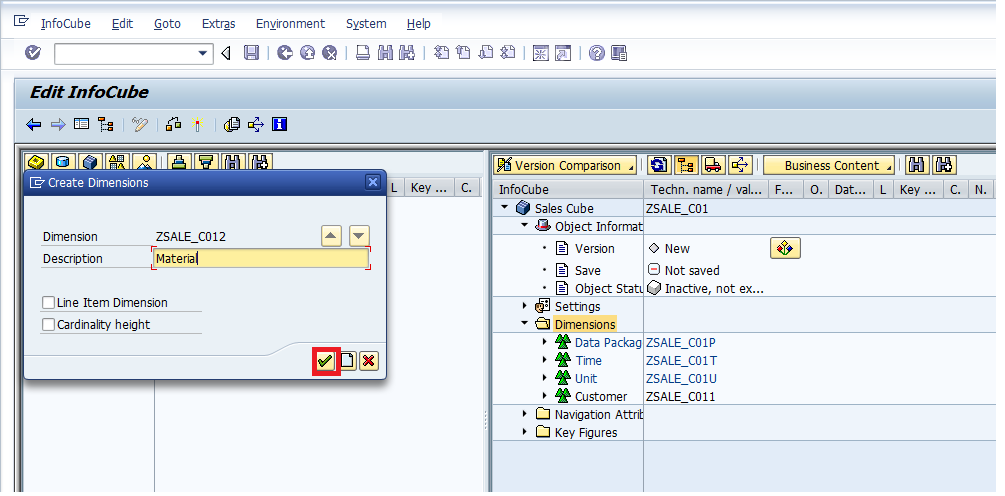
Type in the details for the Dimension (description: Material). After you’re done, click ![]() to proceed further.
to proceed further.
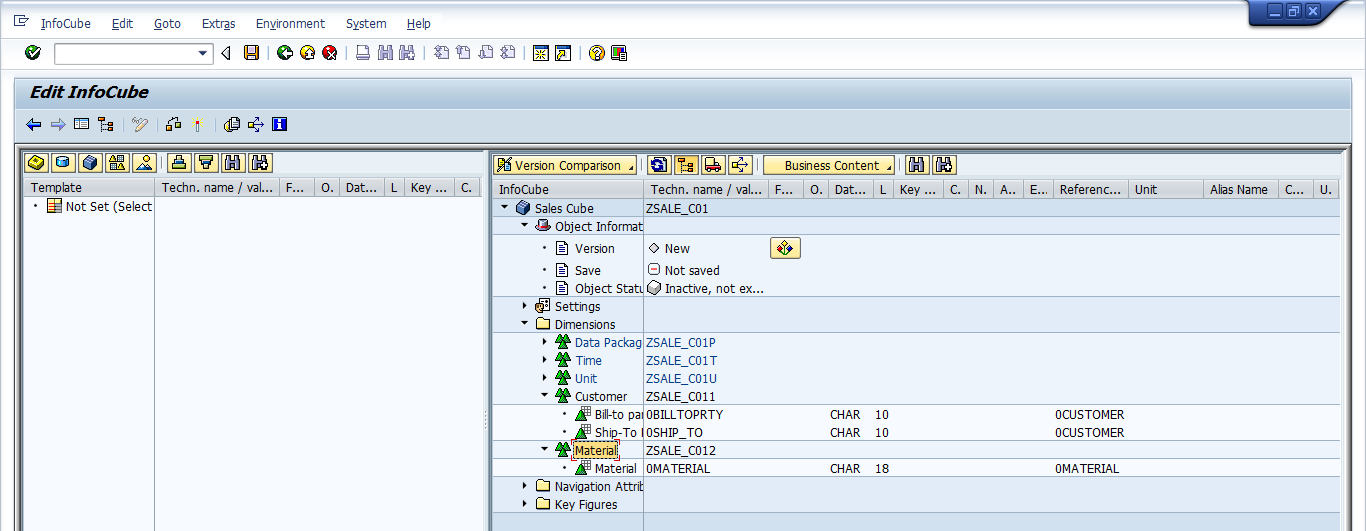
Follow the same process to make sure that you enter all characteristics of ‘Material’ dimension.
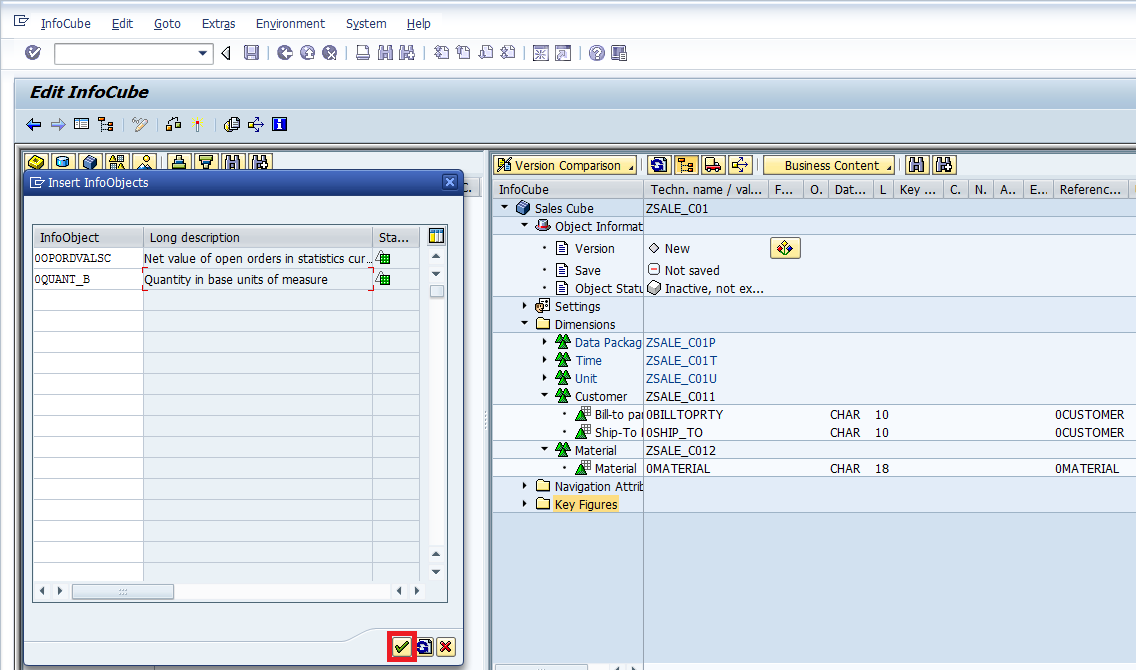
Let’s now add Net Value and Quantity to the ‘Key Figures’ folder. To do the same, you just have to first right click on the folder as emphasized in the below screen:
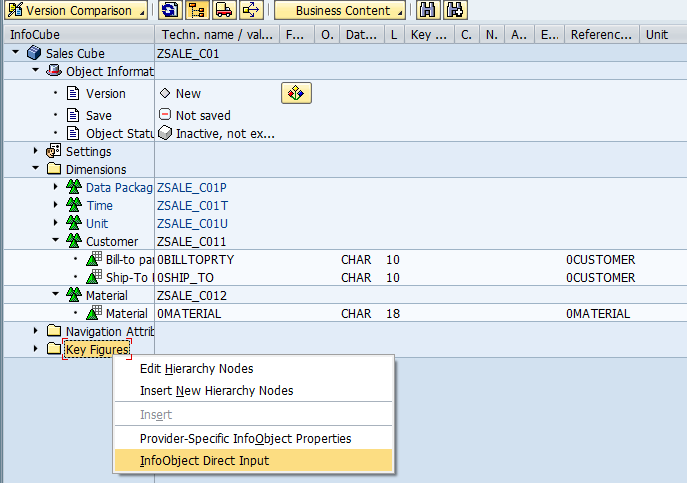
Select ‘InfoObject Direct Input’ emphasized in the above screen to proceed further. The system prompts you with the following sub screen:

Now, make sure that you enter Net Value and Quantity key figures. Click ![]() to proceed further.
to proceed further.
The system shows you the below screen:
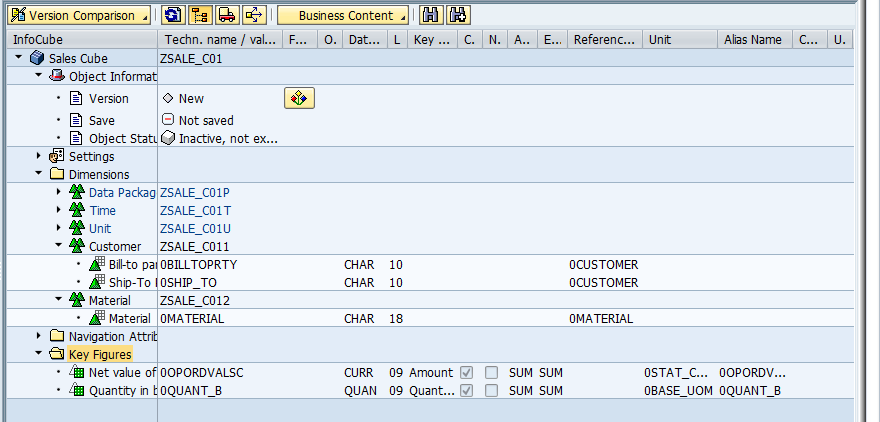
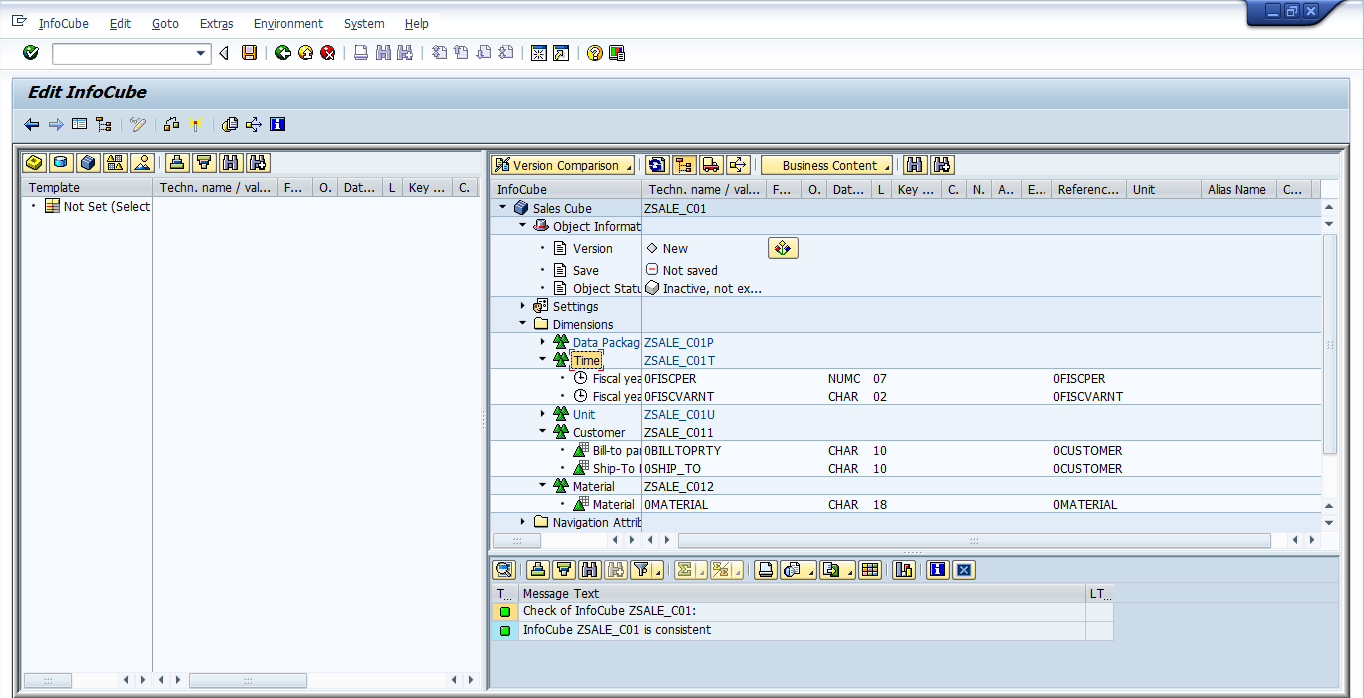
Similarly, input Fiscal Year/Period to the ‘Time’ Dimension. Fiscal year variant gets added automatically along with fiscal year/period. The screenshot is given below:

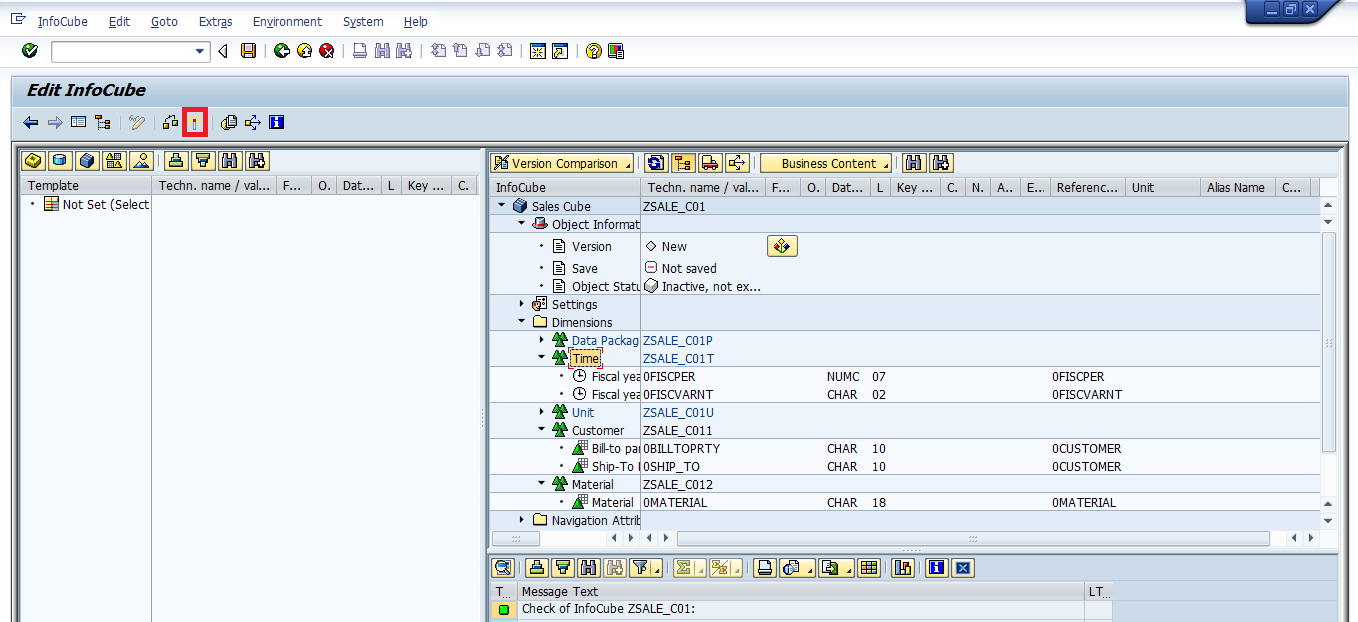
Let’s now check the correctness of SAP BW InfoCube by clicking on ![]() . The system shows the below screen:
. The system shows the below screen:
As can be seen from the above screen, there are no errors. So, we can go ahead and activate the object. But, to do the same, you have to click ![]() emphasized in the following screen:
emphasized in the following screen:
We have now successfully activated the InfoCube ZSALE_C01.
Conclusion
SAP BW InfoCubes are primarily used to store transaction data. They cannot store master data. For creating/defining summarized reports, you predominantly use SAP BW InfoCubes. In this tutorial, we just covered creating Standard SAP BW InfoCubes. It’s time for you to start exploring other types of SAP BW InfoCubes. It should also be kept in mind that SAP BW InfoCube design needs to be done very carefully. Otherwise, you will end up with multiple performance related issues.
—
Did you like this tutorial? Have any questions or comments? We would love to hear your feedback in the comments section below. It’d be a big help for us, and hopefully it’s something we can address for you in improvement of our free SAP BW tutorials.
Navigation Links
Go to next lesson: SAP Restricted Key Figures
Go to previous lesson: SAP BW Hierarchy
Go to overview of the course: SAP BW Training