
 SAP BW Workbooks are simply Excel sheets which hold result of queries. Formatted reports can be created with the help of SAP BW workbooks, as they allow us to change the way reports look. Apart from just formatting, you can also have Excel calculations. You can have more than one query in a single workbook and then do the analysis. A default workbook is provided to create reports with very less formatting work. Given below is the list of some of the reasons why you may choose to use SAP BW workbooks:
- You have excellent Excel knowledge, which can be used to present the BW data in Excel format with multiple customizations (including look and feel).
- For comparison scenarios, where you might want to do comparative analysis of multiple queries in a single worksheet.
- You have confidential data, which can be protected through Password Protection feature of the workbook.
- You need to broadcast regularly to multiple users. You can basically precalculate SAP BW workbooks, after which you can distribute them through email or publish on the Portal.
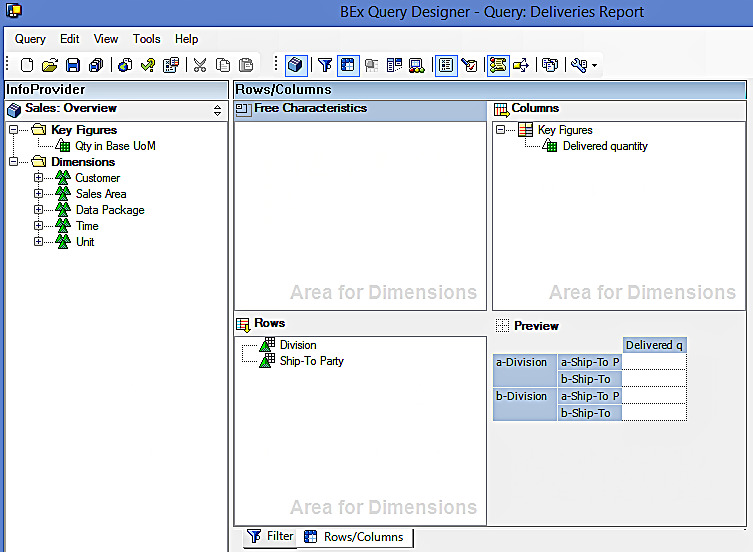
Consider the following report on Deliveries. The Rows/Columns section looks as follows. We have Division and Ship-To Party in rows section, whereas we have Delivered quantity in columns section.
The filters section looks as follows:
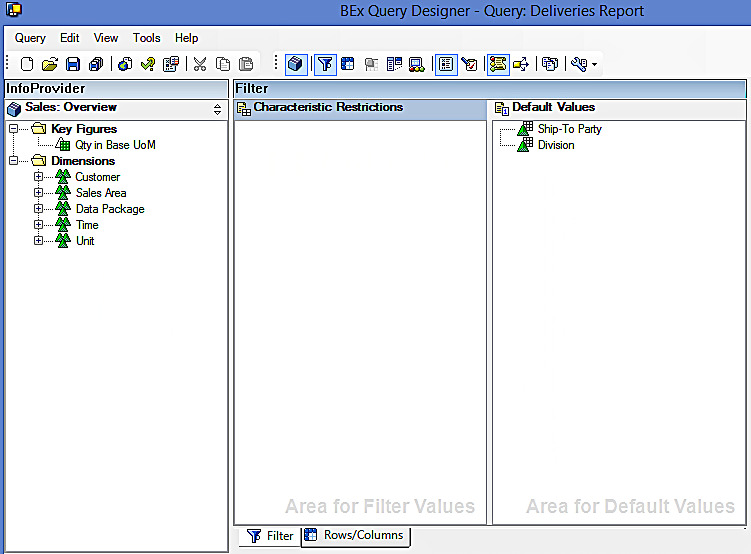
As can be seen from the above screen, there are no filters defined on the query.
Requirement
The requirement is to create a workbook on the Deliveries Report and to do Excel formatting as per the mockup given below:
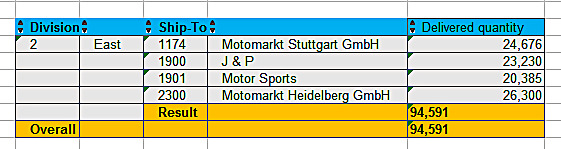
Finally, we would like to protect the workbook for security reasons.
For the ease of understanding, this tutorial is divided into the following five sections:
- Creating SAP BW workbook
- Saving SAP BW workbook
- Executing SAP BW workbook
- Protecting SAP BW workbook
Creating SAP BW Workbooks
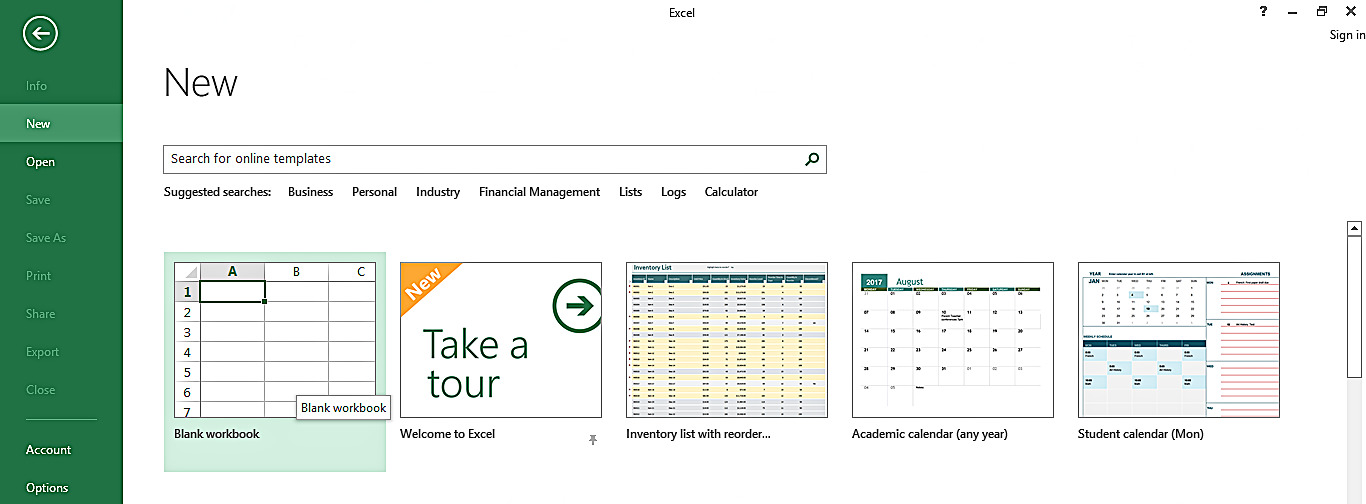
After logging in to the BEx Analyzer, go to File -> New -> Blank Workbook. The screenshot is given below:
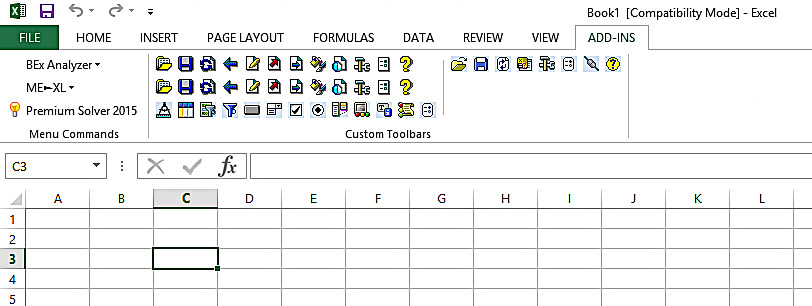
Now, select a cell in the worksheet as follows:
Let us now go to the Global Settings by clicking on ![]() button highlighted in the below screen:
button highlighted in the below screen:
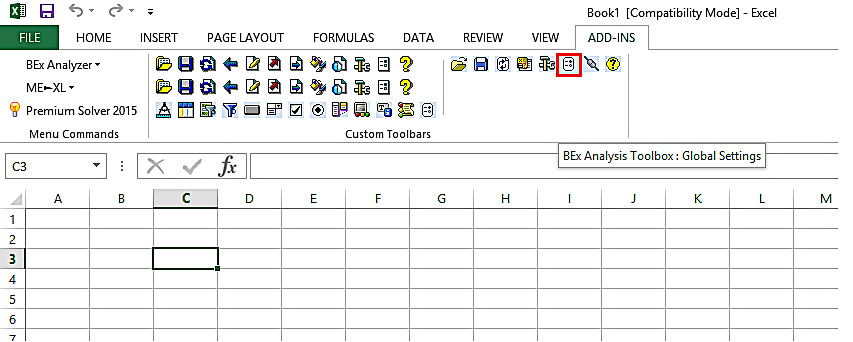
The following screen appears:
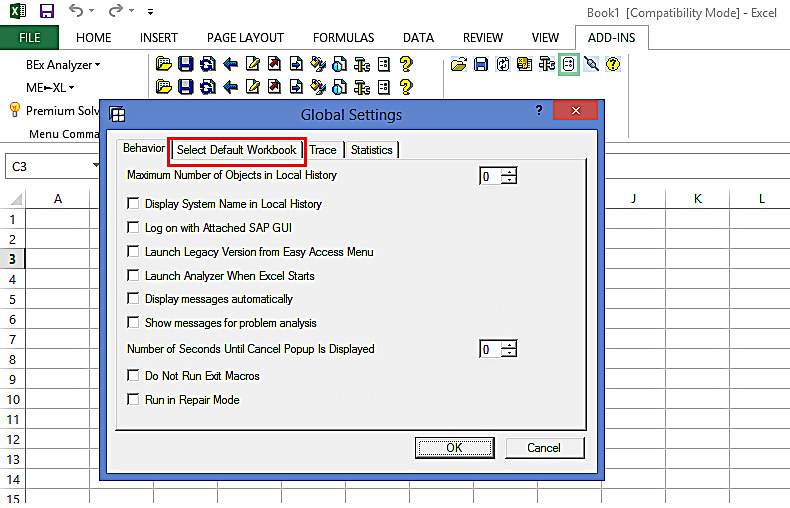
Now, go to ‘Select Default Workbook’ tab highlighted in the above screen. The following screen appears:
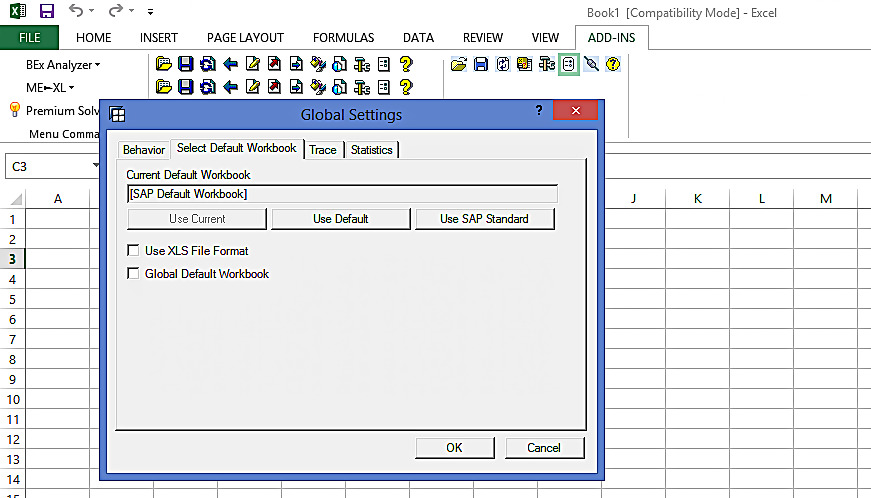
As can be seen from the above screen, there are three types of Workbook templates. They are given the following options:
- Use Current
- Use Default
- Use SAP Standard
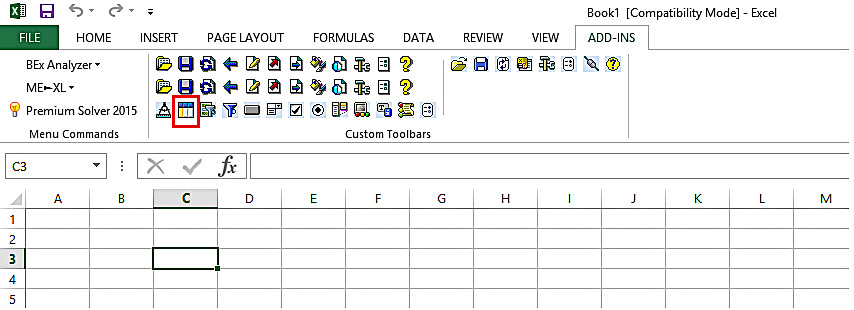
Let us retain the settings as they are. Now, click on Insert Analysis Grid ![]() highlighted in the below screen:
highlighted in the below screen:
The following screen appears:
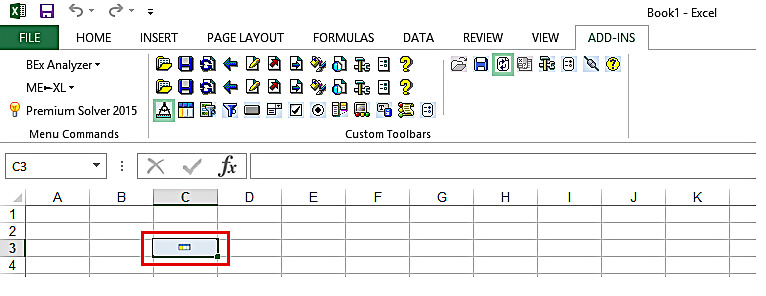
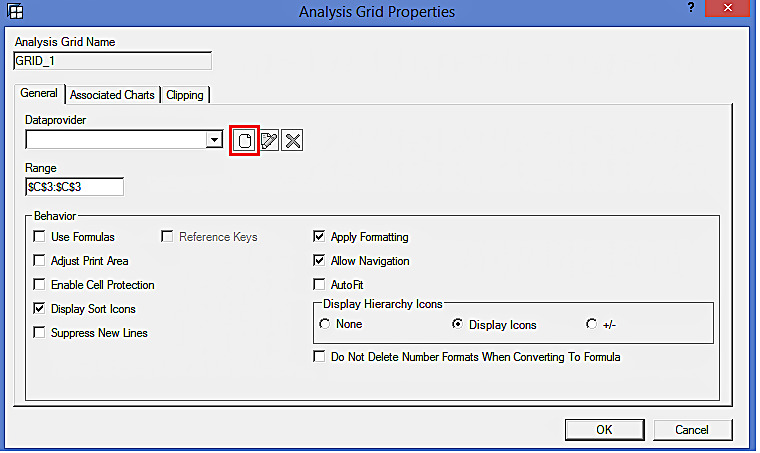
In order to insert the query, you have to click on the inserted analysis grid highlighted in the above screen. The following pop up appears:
Now, you have to create Data Provider by clicking on ![]() highlighted in the below screen:
highlighted in the below screen:
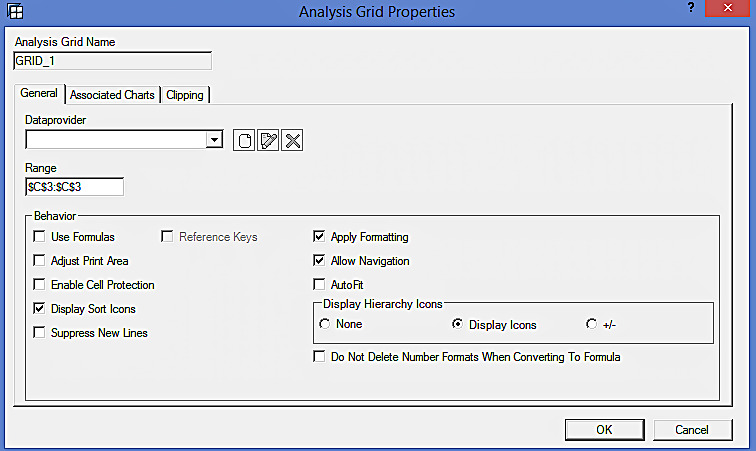
The following pop up appears:
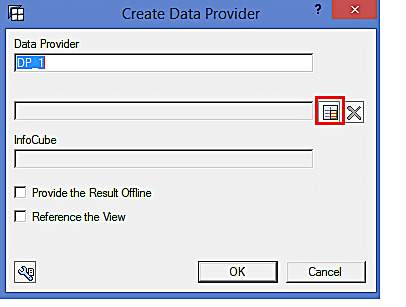
Let us now select the query by clicking on ![]() highlighted in the above screen. The following screen appears:
highlighted in the above screen. The following screen appears:
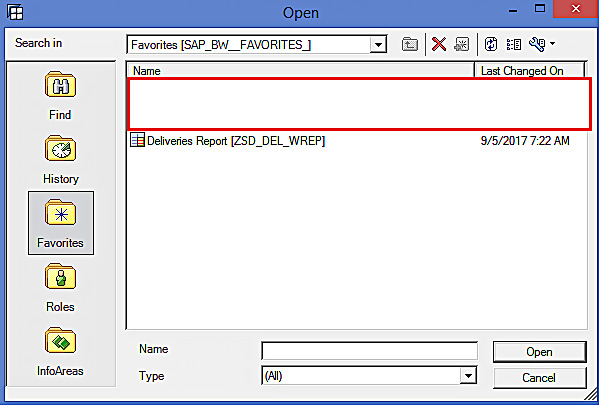
Select ‘ZS_DEL_WREP’ query and click on ‘Open’ button. The screenshot is given below:
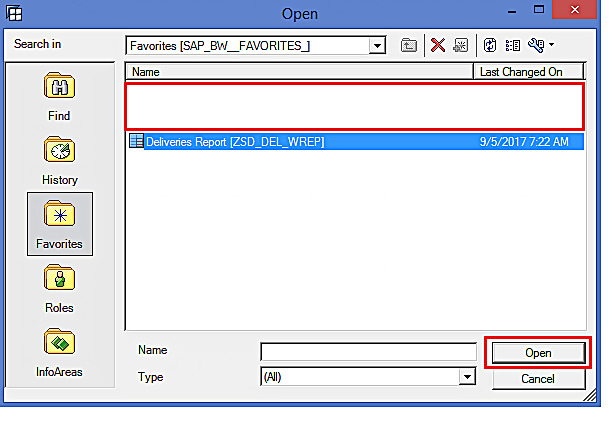
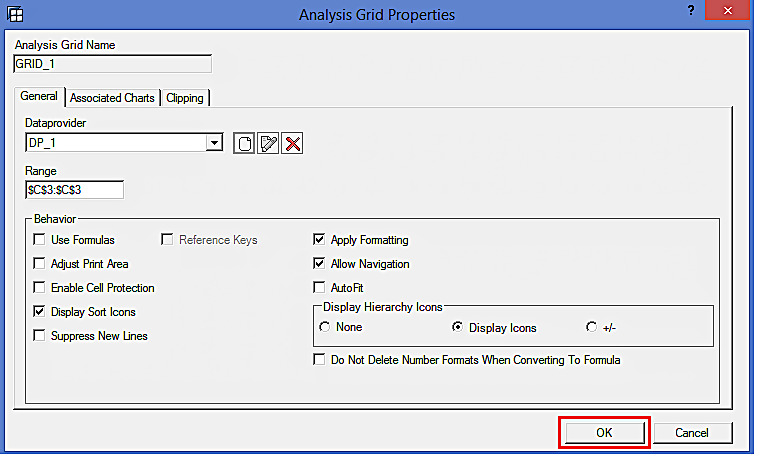
The following screen appears:
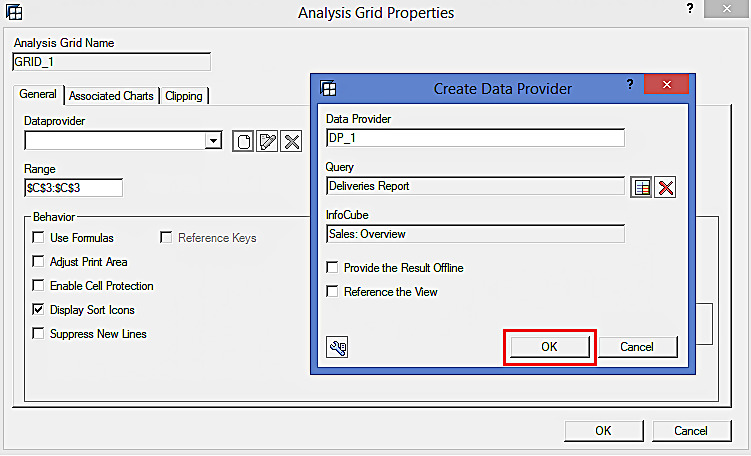
Just click on ‘OK’ button highlighted in the above screen to proceed further.
As can be seen from the above screen, a Data Provider is selected. Click on ‘OK’ button highlighted above to insert the query in the workbook.
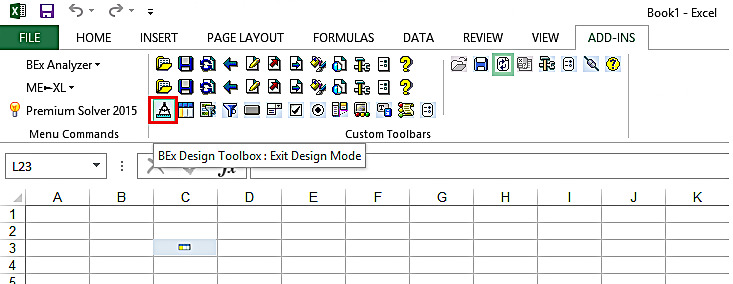
Let us now exit the design mode by clicking on ![]() button highlighted in the below screen:
button highlighted in the below screen:
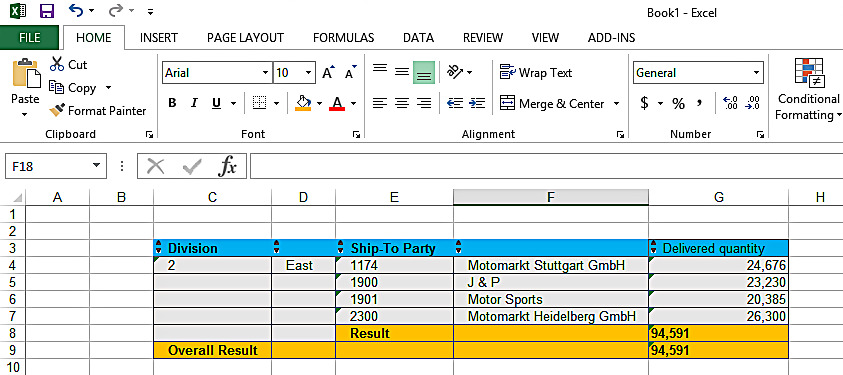
Now, you will see the query output in the Excel as per the following screen:
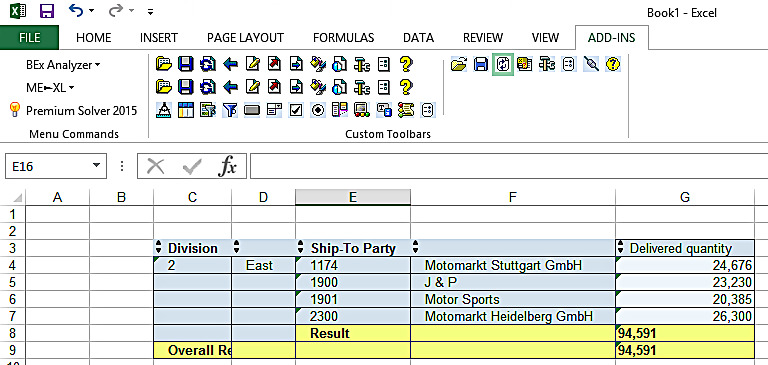
Let us now apply the formatting as per the mockup mentioned in the requirement. It is the same as Excel formatting. The screenshot is given below:
Saving SAP BW Workbooks
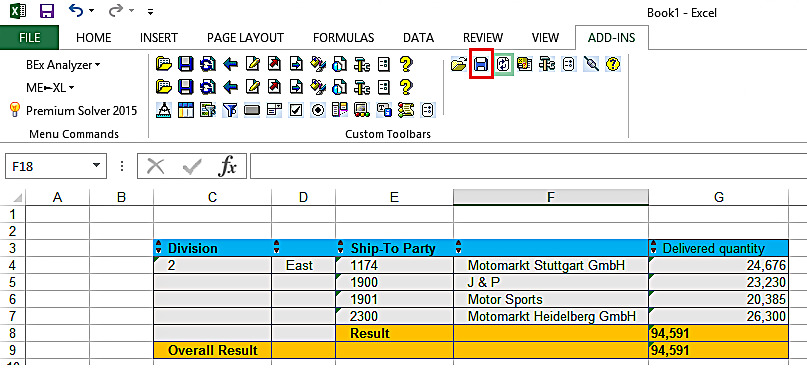
Let us now save the workbook by clicking on ![]() button highlighted in the below screen:
button highlighted in the below screen:
The following screen appears:
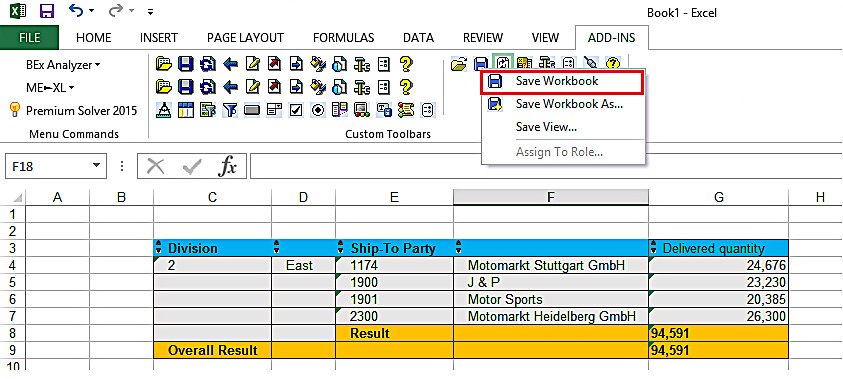
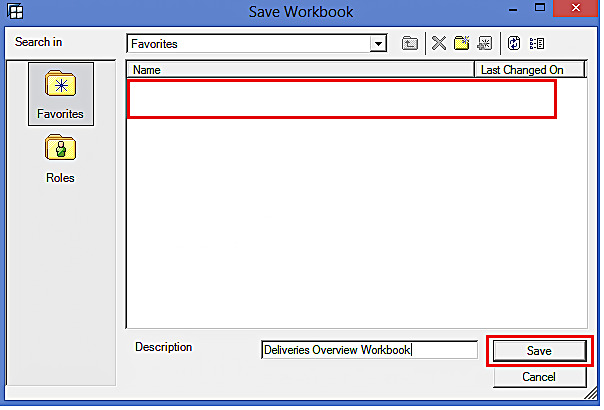
Click on ‘Save Workbook’ highlighted in the above screen.
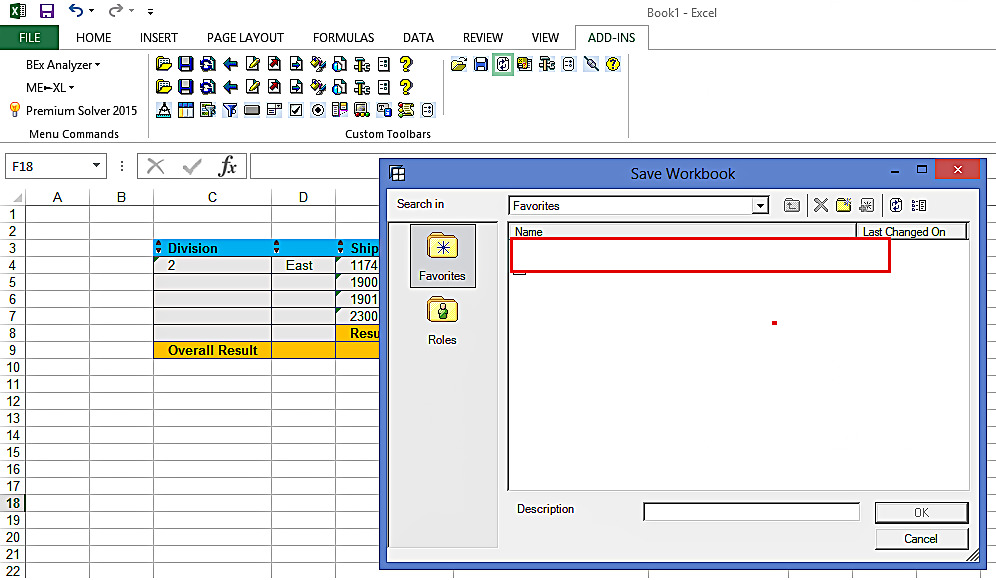
Let us now give the description to the workbook as ‘Deliveries Overview Workbook’ and click on ‘Save’ button highlighted in the below screen:
Executing SAP BW Workbooks
When you execute the workbook, all the formatting you’ve done earlier would be displayed automatically as you’ve saved your workbook.
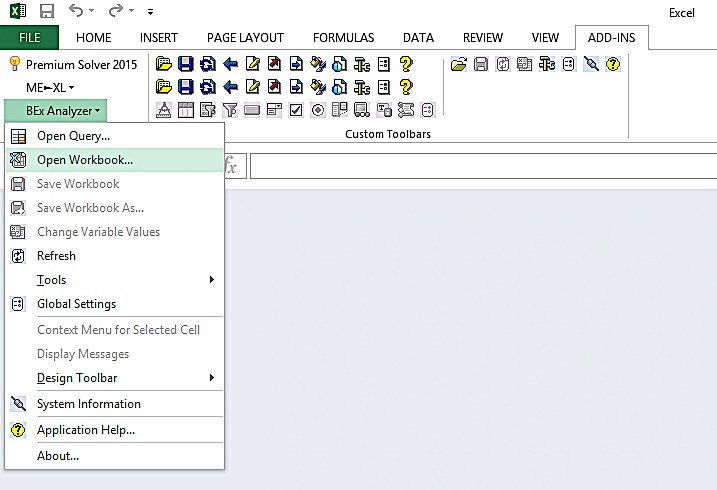
Go to BEx Analyzer -> Open Workbook.
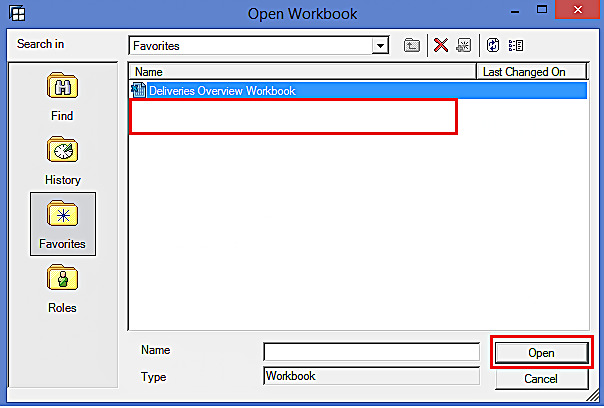
Select the ‘Deliveries Overview Workbook’ and click on ‘Open’ button highlighted in the below screen:
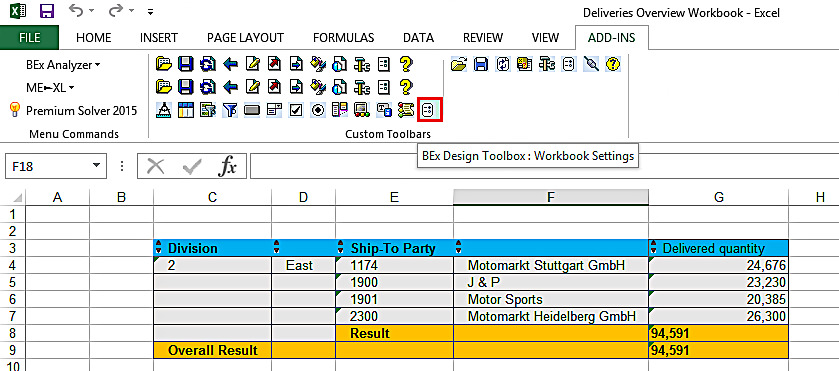
The output of the workbook is given below:

Protecting SAP BW Workbooks
Apart from the Excel settings, BEx Analyzer also offers settings for SAP BW workbooks. To see the various workbook settings, you can just go to Add-ins and click on ![]() button highlighted in the below screen:
button highlighted in the below screen:
The following screen appears:
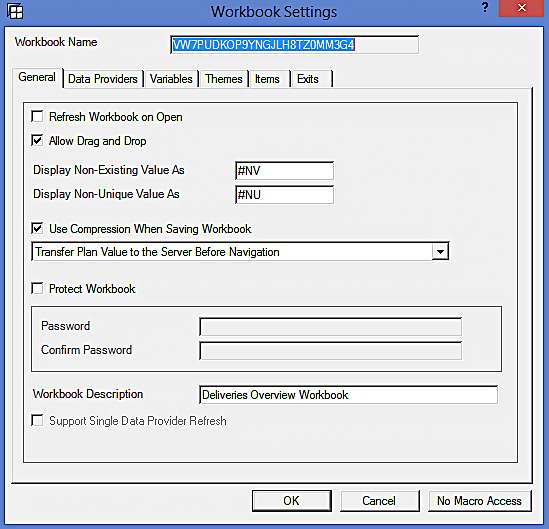
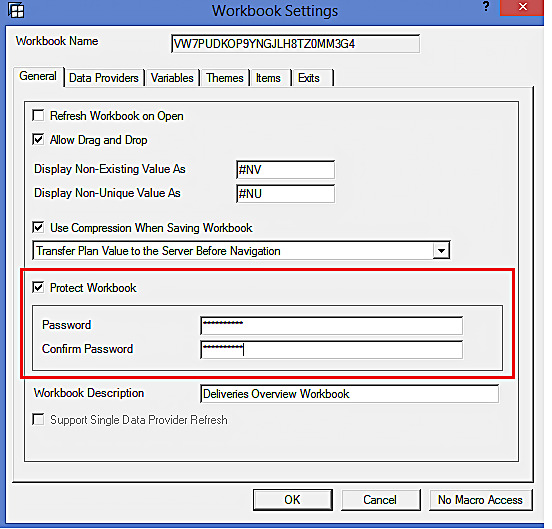
Let us now password protect the workbook.
Save the workbook and execute it again. Now, the sheet is protected and you cannot do any changes using the functions of Analyzer until and unless you enter the password.
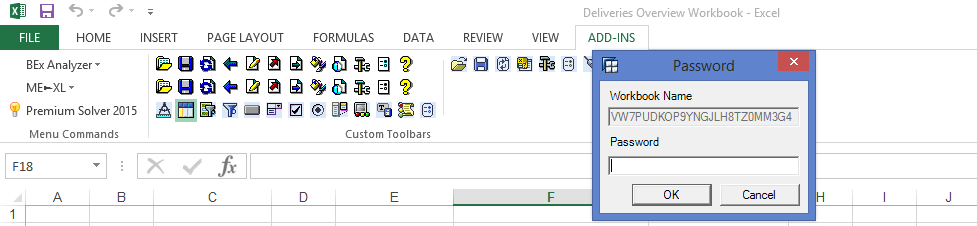
However, one can continue analyzing the result of the query without entering the password.
Tip: It is very common that your BW system might have multiple obsolete SAP BW workbooks. To cleanup your system, you need to make sure that all orphaned workbooks are deleted. But, the question is how to do that. To delete many obsolete SAP BW workbooks that are present in your BW system, you can do one of the following activities:
- Run Function Module RRMX_WORKBOOKS_DELETE (in SE37 transaction)
- Run Transaction RSZDELETE
Many SAP BW Consultants ignore the concepts of BEx Workbooks. They assume that any Excel Pro can work on SAP BW workbooks with ease, and there is nothing more to learn/know about SAP BW workbooks. But, as I have mentioned earlier, BEx Analyzer offers workbooks settings as well. You should understand in and out of all these features to effectively create and use them.
—
Did you like this tutorial? Have any questions or comments? We would love to hear your feedback in the comments section below. It’d be a big help for us, and hopefully it’s something we can address for you in improvement of our free SAP BW tutorials.
Navigation Links
Go to next lesson: SAP BW Broadcasting
Go to previous lesson: SAP BW InfoProviders
Go to overview of the course: SAP BW Training
great material! Thanks!!
Hi,
Can any one help to get the information of last user(Last Used) of workbook, using workbook ID.
Thanks,
Gaurav
thank you so much for delivered such a very knowledgeable content.